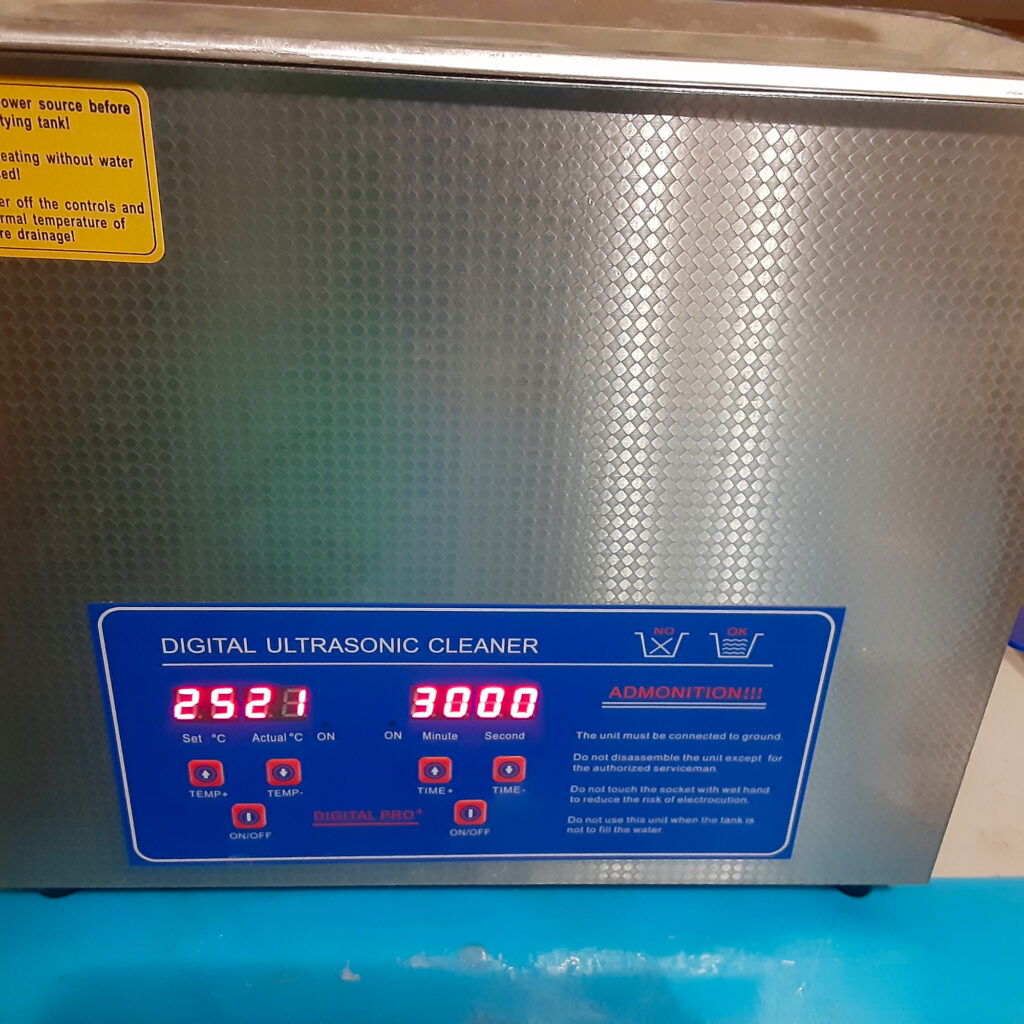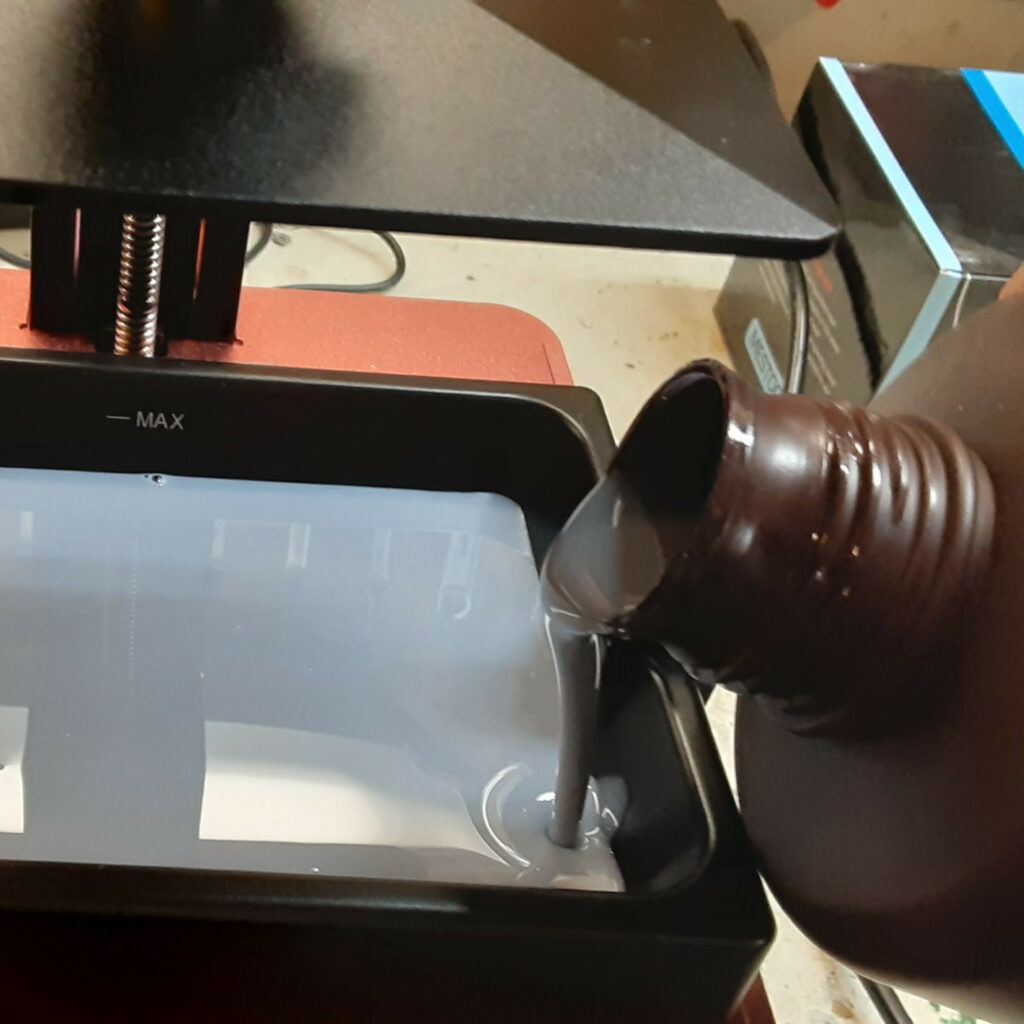


In a previous post, I went over my process for removing supports from figures 3D printed in resin. Since then, we have modified our resin to be more durable and also updated our initial cleaning process. We’ve also switched from using ethanol in our ultrasonic cleaner to using Simple Green.
Our improved formula is a bit “stickier” and we found that the old cleaning method no longer worked. A new cleaning regime was needed to tackle the challenges of the stronger resin. This also meant that our support removal process needed to be modified a bit.
Clicking on the Amazon Associate links in this article helps me pay the bills–and write more articles!
Hot Water Bath
When it gets warm, resin becomes more flexible, and flexibility is what you want when removing supports! Having slender teeth and delicate claws bend, instead of break, as you work your tweezers and cutting pliers around them is a boon when trying to detach stubborn supports. I use hot water straight out of the tap, about 130ºF or 55ºC. After 5 minutes most miniatures are warmed up enough to start clipping supports. Larger figures usually need extra time, with the hot water being refreshed every 5 minutes to keep it nice and hot. Our 75mm scale figures usually take 10 minutes to get warm; our huge figures can take 15 to 20 minutes (remember to keep refreshing that water to keep the temperature up!).

Start Clipping
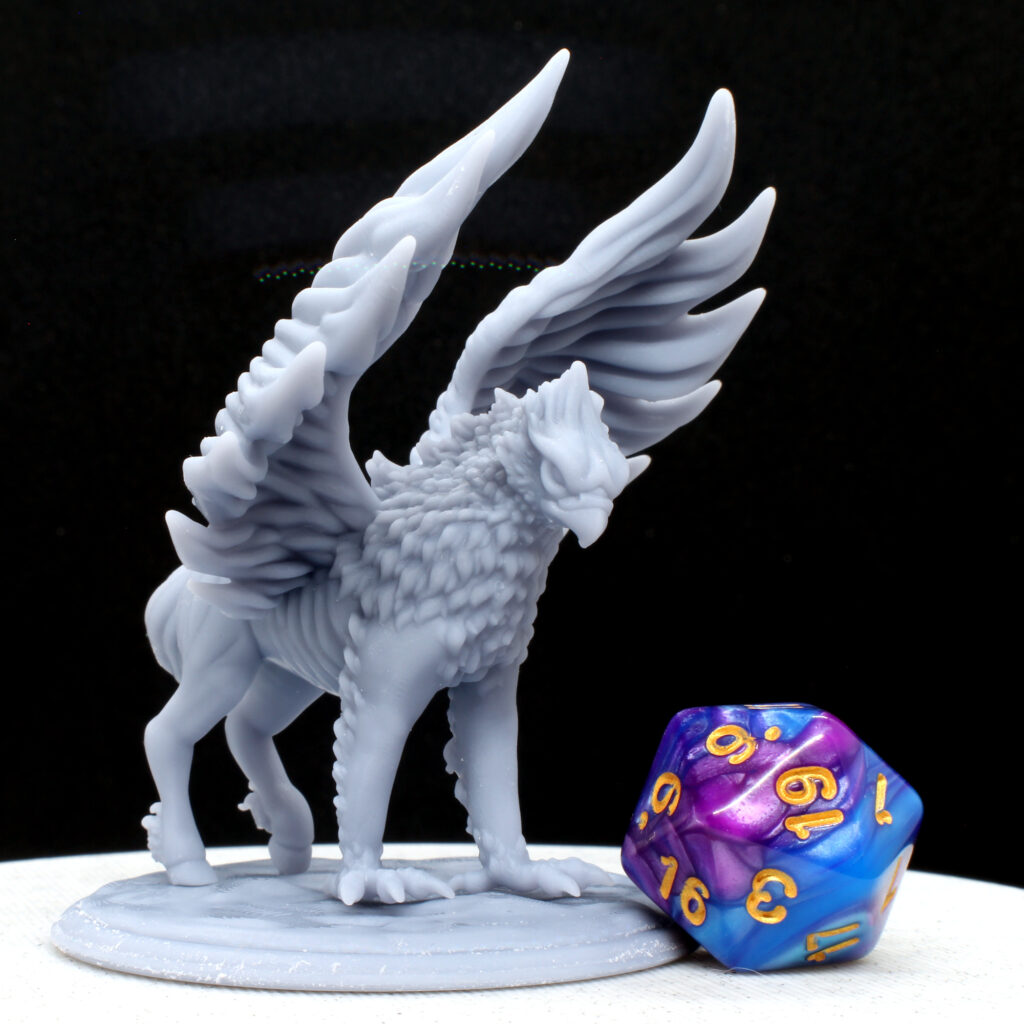
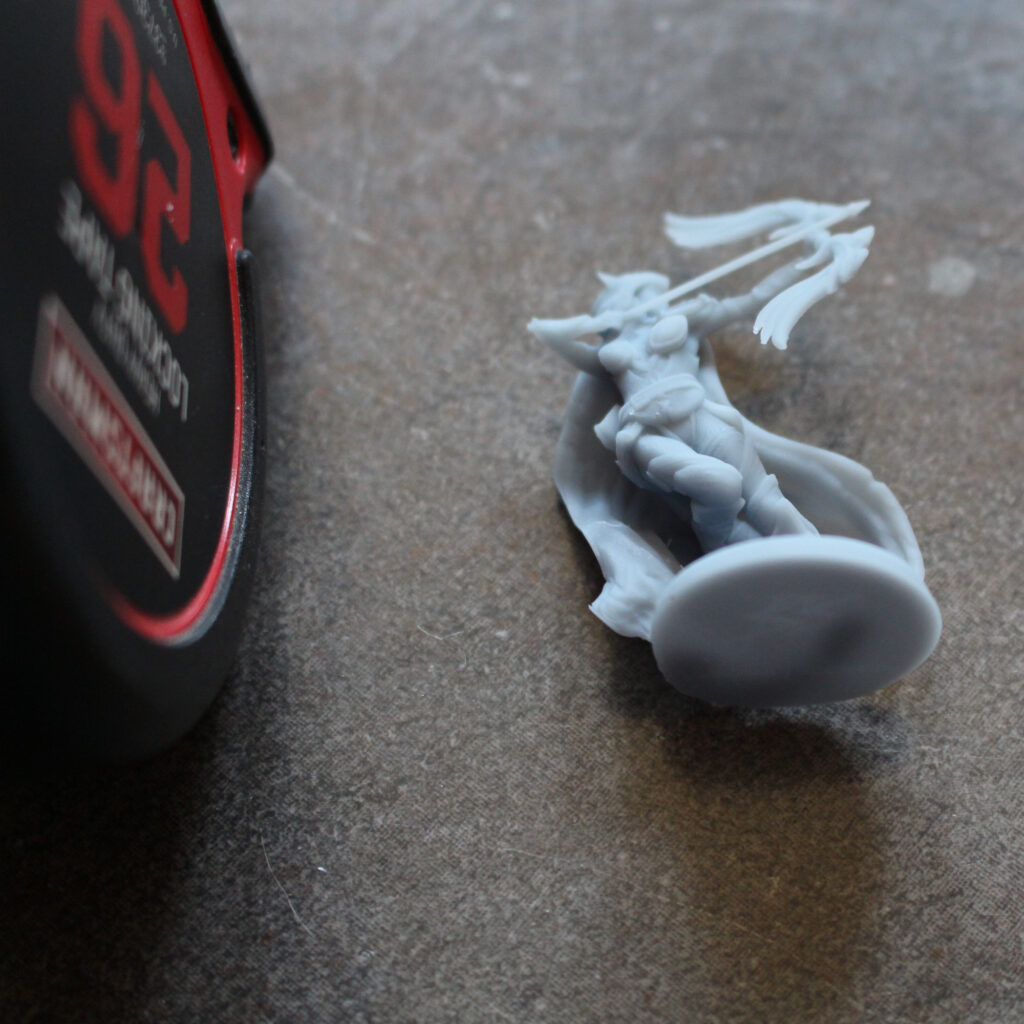
Now that your figure is warmed up, it’s time to start taking those supports off! Start with the most delicate parts first, using a pair of clippers to gently snip the figure free. Focus on any details that are smaller than the supports themselves, like tiny teeth or claws, or thin, fragile parts, like tails or a bow and arrow. The goal is to separate any small details from the large support structure so that you can easily rip the majority of the supports off. With these Kitsune, I clip the supports from their claws and from the tips of their tails. After that, the support structure can be ripped off without damaging the figure.
Most of your supports should easily rip free. If a gentle tug doesn’t yield any results, don’t be afraid to return your figure to the water bath. Warm it back up and try tugging on those supports again. Being patient and taking your time means a smoother separation from the supports and less damage to your figure.
Alcohol Bath
A particularly dense support structure can trap resin next to the figure. Once the supports are gone, it’s time for a final round of cleaning for your figure. I find minis come out fine from sitting in a bowl of Isopropyl alcohol for a couple minutes. For larger figures you can dip a toothbrush in alcohol and then scrub them to get rid of the very last of the resin. Pay particular attention to areas with a lot of detail and texture, and also to areas that were deepest in the support tree, like the bottom of the base.

Last Bath!
You’re almost done! Move your figures from the alcohol back to your warm water bowl. You’ll see clouds of resin come off right away, even off what you thought was all ready a super clean figure! Let the figure sit in the warm water for about 5 minutes to give it time for every last bit of resin to come off. When they come out of this bath they’re done! Set them out to dry, and then they’ll be ready for a trip to the curing chamber.

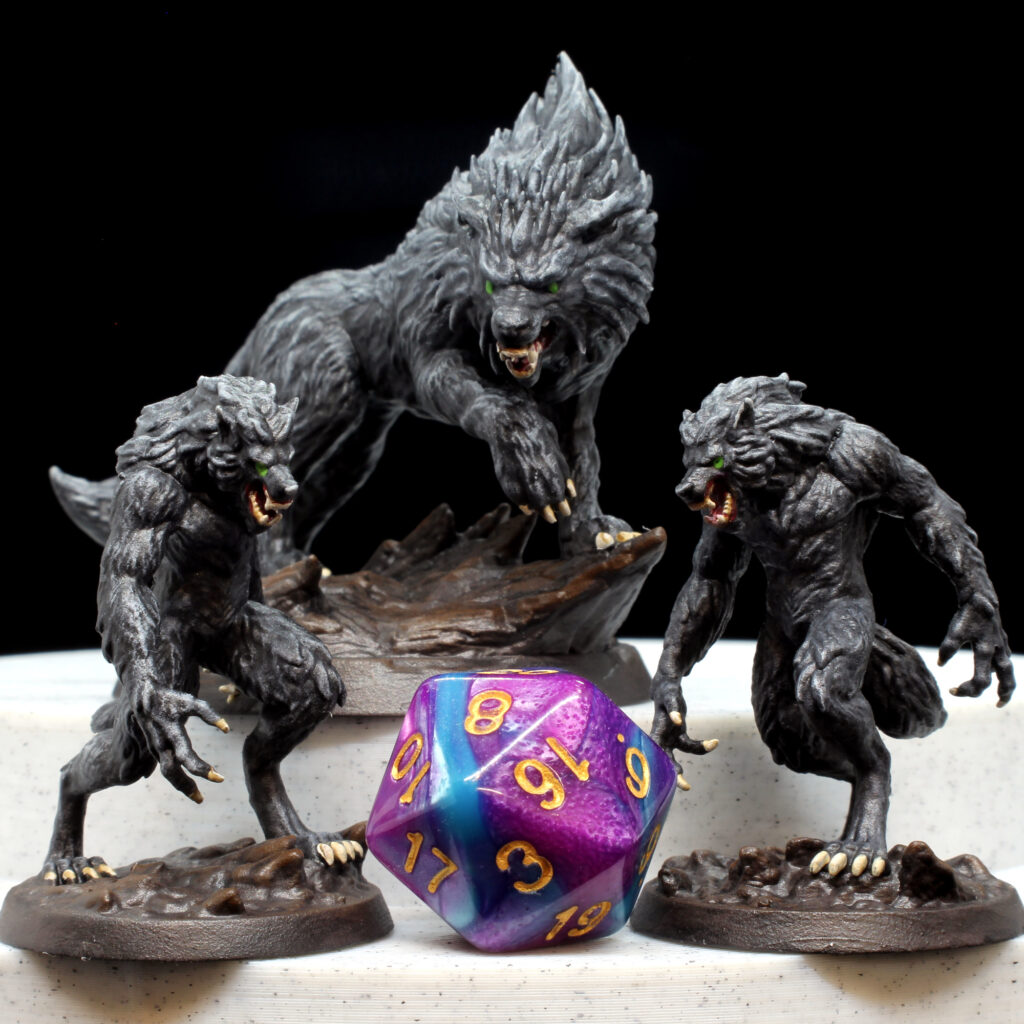
The Dire Wolf figures in the top photo were designed by 3DsOfSan.
The Kitsune were designed by LaLouve3D.

Clean up
Don’t forget to wash your tools! Clippers, Tweezers, and Sanding Wands are all helpful to have on hand when removing supports. Before you put everything away, give your tools a quick dip in the alcohol followed up with a rinse with warm water. Keeping your work area and tools clean will save you a headache down the road!

Was this article helpful? Become a Patreon or buy me a coffee and I’ll write more!
Clicking on the Amazon Associate links in this article helps me pay the bills–and write more articles!