


After printing with resin for over a year, I figured it was time to detail my entire process from beginning to end. It’s not too difficult, but there is a steep learning curve. There are a lot of guides out there on how to get started, but I found most of them lacking or coming at things from a veteran’s point of view. Hopefully this post will help fill in the gaps and give you a good idea of what’s involved in printing some resin models.
Clicking on the Amazon Associate links in this article helps me pay the bills–and write more articles!
Some of the items I use:
- Elegoo Mars
- Ultrasonic cleaner
- Pickle container
- Grey resin
- Metal scraper
- Plastic spatulas
- Flat clippers
- Sanding tools
- UV led light strip (curing station)
- Solar powered turntable (curing station)
- Magnifying headband
Step 1: Slicing

Technically, it all starts with designing a model. Since this tutorial is only about the printing we won’t get into design. Personally, I use Lychee for my slicing program. Chitubox is also a good program, although recently I’ve run into problems with it crashing.
Simply drag and drop your models into the slicer and, if necessary, start supporting them. The most common model files are .STL but there are others. For supports, if you’re just starting out, the latest version of Lychee does a pretty good job of auto-supporting.
As you gain more experience, I recommend auto-supports to at least see where supports are needed. From there, you can delete or rearrange them and add your own. I won’t get into the details of manual supports since there are plenty of tutorials on that subject.
After arranging and supporting your models, go ahead and slice them and export to a USB stick or send them to the printer via network depending on your setup. Time to head over to the printer.
Step 2: Let’s print!
Make sure your printer’s build plate is properly aligned. If not, use your printer’s instructions for this process. You will most likely need to align the printer every 5-10 prints or in between large models.
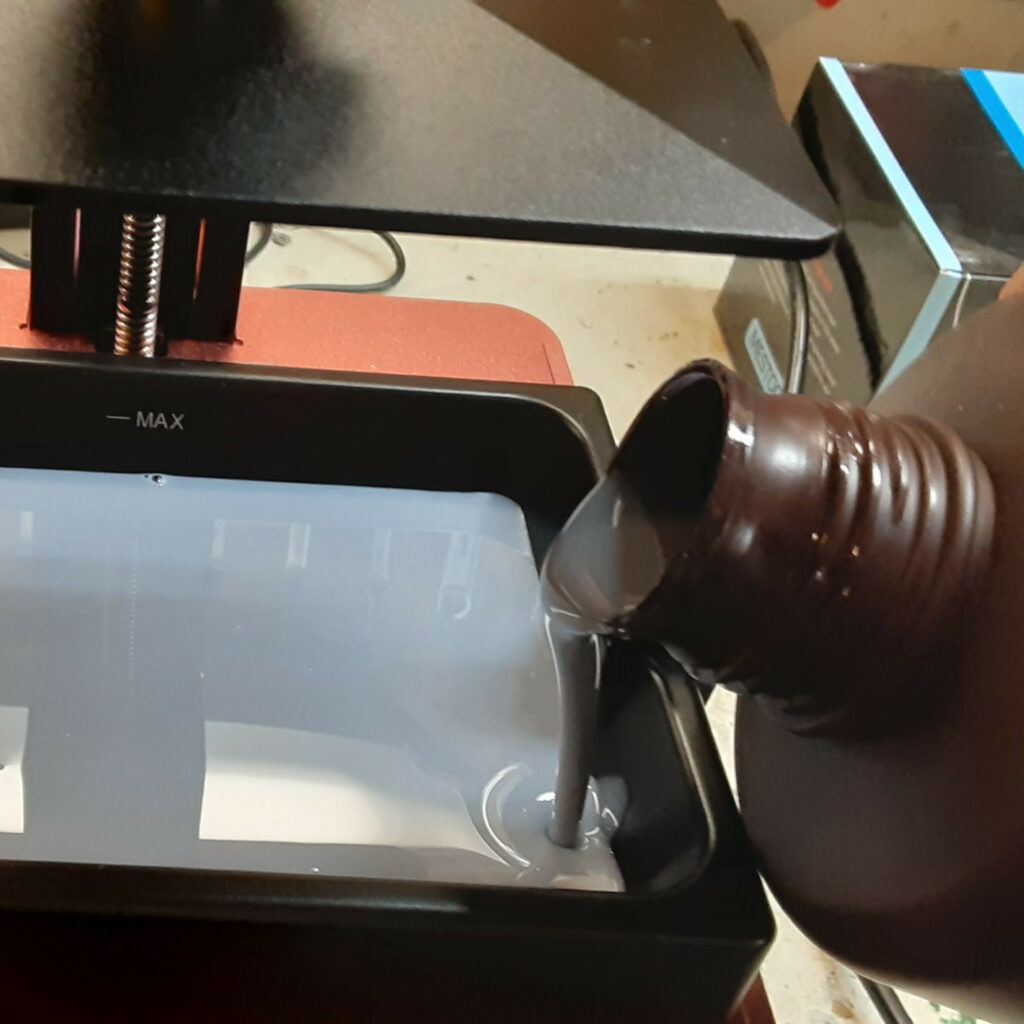
Let’s shake up the resin to make sure it’s not separated. Don’t get too crazy with shaking it or you’ll have a lot of bubbles. Also, don’t get any on your skin…it’s toxic! Go ahead and pour it into the vat which should be tightened down at this point. If you do have a lot of bubbles, just wait about 10 minutes to print. Warmer resin will expunge bubbles faster.
If your vat has a max fill line, make sure to not go over that. Also remember that the build plate will raise the level of the resin in the vat. On the control panel, lower the build plate all the way down to the vat and then up 5-10mm and back. This will clear out most bubbles beneath it and help mix the resin a bit more.
Typically, you can leave the vat full of resin between prints. If this is the case, remove the build plate and use a plastic spatula to stir the resin before printing. When topping off the resin vat between prints, make sure thoroughly mix the new resin with the old. While stirring the vat, be very slow and careful. It’s easy to punch a hole in the FEP and you really don’t want that to happen! Replace the build plate and lower it all the way down like in the initial fill process to remove bubbles.
Now that the vat is prepped, select your model from the control panel and hit print. Yep, that’s it! The printing process can take anywhere from 30 minutes to 8 hours or more so watch the screen to get an estimate for how long your project will take. Your slicer program should have also given an estimated printing time.
Make sure to replace the UV shield on the printer while printing to keep out resin-ruining light.


3. Wait
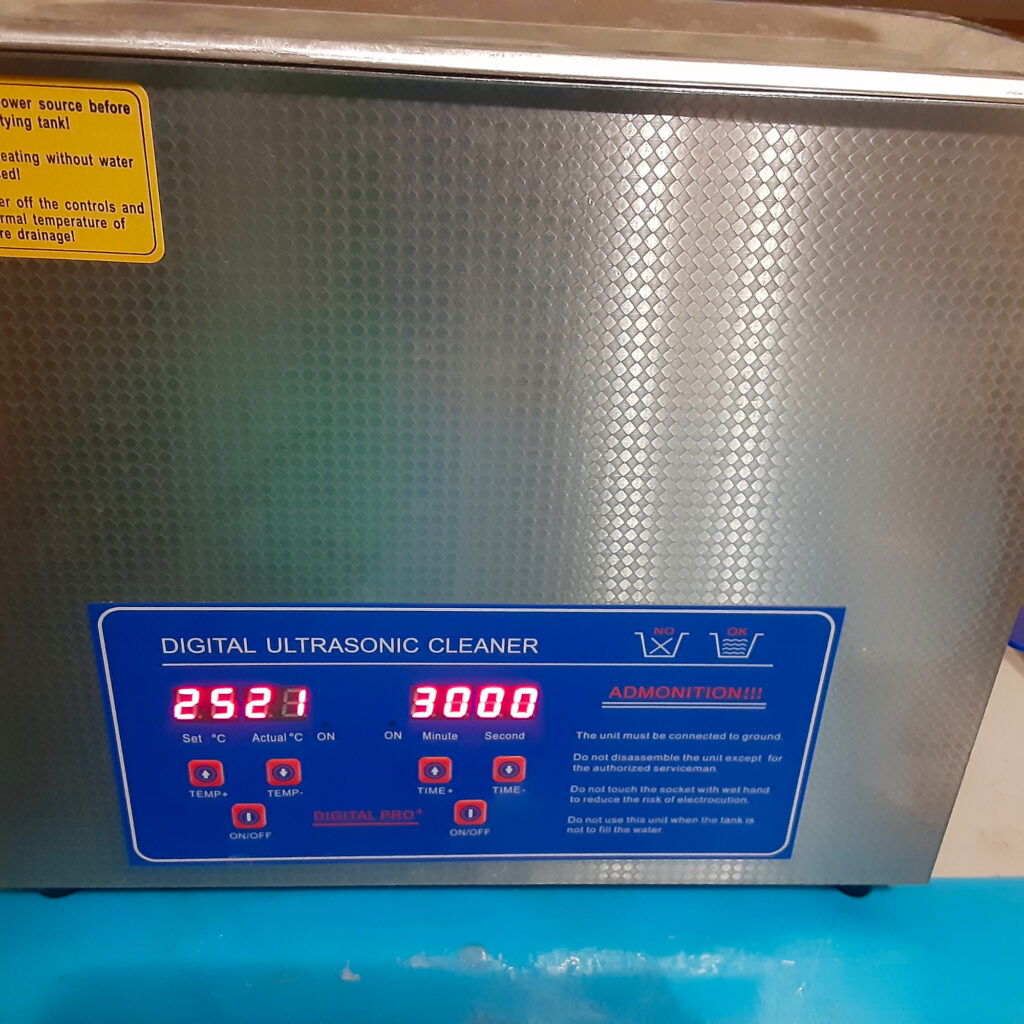
Yeah, not much to do now other than wait. If you are using an ultrasonic cleaner, start the heating process a good hour before the print will be finished. You’ll want it to be 40-50 degrees Celsius when we’re ready to clean.
4. Remove the models
So, the print is finished and hanging from the build plate. What now?
Remove the UV shield and build plate. You can replace the build plate with a 45 degree drip-dry attachment if desired. This will allow the resin to drain back into the vat more effectively. Replace the UV shield and wait another 10-15 minutes if you’re using this method.
In either case, the build plate now needs to go somewhere that you can make a mess and fling resin models around. I use a cardboard box on its side so the liquid resin will get absorbed and also so the resin models don’t go flying across the room while removing them. Put the build plate in there, holding by the top, and pry the models off with a metal scraper. They can get stuck fairly well so give them some muscle. You may need a slight tap of the hammer to pop them loose.
Put the build plate back on your printer and close it up. We’re all done with that. You can clean out the vat and build plate if you want, but it’s more effective to do that only when necessary (after a failed print, build plate misalignment, etc.).
5. Cleaning
I use an ultrasonic cleaner so I will only be describing this method. Grab the models on the edge of your scraper and put them into a Ziploc bag. Pour in some 60%+ alcohol (isopropyl, ethyl, whatever you have on hand) to fill the bag just enough to cover the models. Since I reuse mine, this comes from a quart jar clearly marked on the lid. If you are reusing your alcohol, the dirty resin will settle out within 24 hours so you can use it over and over again. Just make sure not to shake or otherwise disturb it and keep it out of sunlight.
Notice that I’m not mentioning gloves up to this point. I have found that by being very careful, they are not necessary unless cleaning the printer. If this is your first time printing, I recommend you use hand protection until you get familiar with your process and can do it without contact.
With the ultrasonic cleaner filled with water (yep, just plain tap water) and heated to 40-50 degrees Celsius, place the Ziploc bag back into the cleaner and close the lid on the lip of the bag. This will hold it in place during the cleaning. Try to make sure the resin models remain submerged in alcohol as you place it in the cleaner.
Let the cleaner go for 3 minutes and remove the bag. While trying to keep the models in the bag, drain the dirty alcohol back into its container or dispose of it. Remember that the resin/alcohol mix is a hazardous waste product so don’t just go pouring it down the sink.
For a secondary wash, fill a pickle jar full of the same type of alcohol that you’re using for cleaning. We want this to stay clean so don’t use any of the dirty stuff. Drop the models in there and give them a few dunks. Now take the basket (with models) over to a sink and give them a final water rinsing to remove the alcohol.


6. Support removal
I like to put the models into a small box lined with paper towels for them to dry for a bit. After that, time to clip the supports.
You’ll have to feel out each model on this one, but the most common tool is the flat cutting pliers. Between this and some very small sanding tools, you should be able to remove and smooth out the supports and blemishes.
If the supports are not cooperating, try soaking the model in hot water for 5-15 minutes to soften them. Do not heat them too much or you’ll melt the resin.
A magnifying headband can really help you see the tiny details of where the supports are attached.


7. Final curing
With the supports removed, it’s off to the curing chamber. I built one from a paint can, LED strip and solar powered turntable. You can also use the sun (free!). For models of this size, I let it go for 1-2 minutes. In the sun, it would probably take an hour. You may need to manually rotate them to get into every nook and cranny.

8. Assembly (if required)
Some models will need to be put together. Use some super glue if you need to do assembly and be very careful. You don’t want to throw away all your hard work on the final step!

Final thoughts

It seems like a lot of steps, but it’s really quite simple once you get into the flow of the whole process. I hope you have found this article helpful even if you only grab one or two tips from the whole thing. There are so many ways to print with resin that it all comes down to personal preference.
Happy printing!
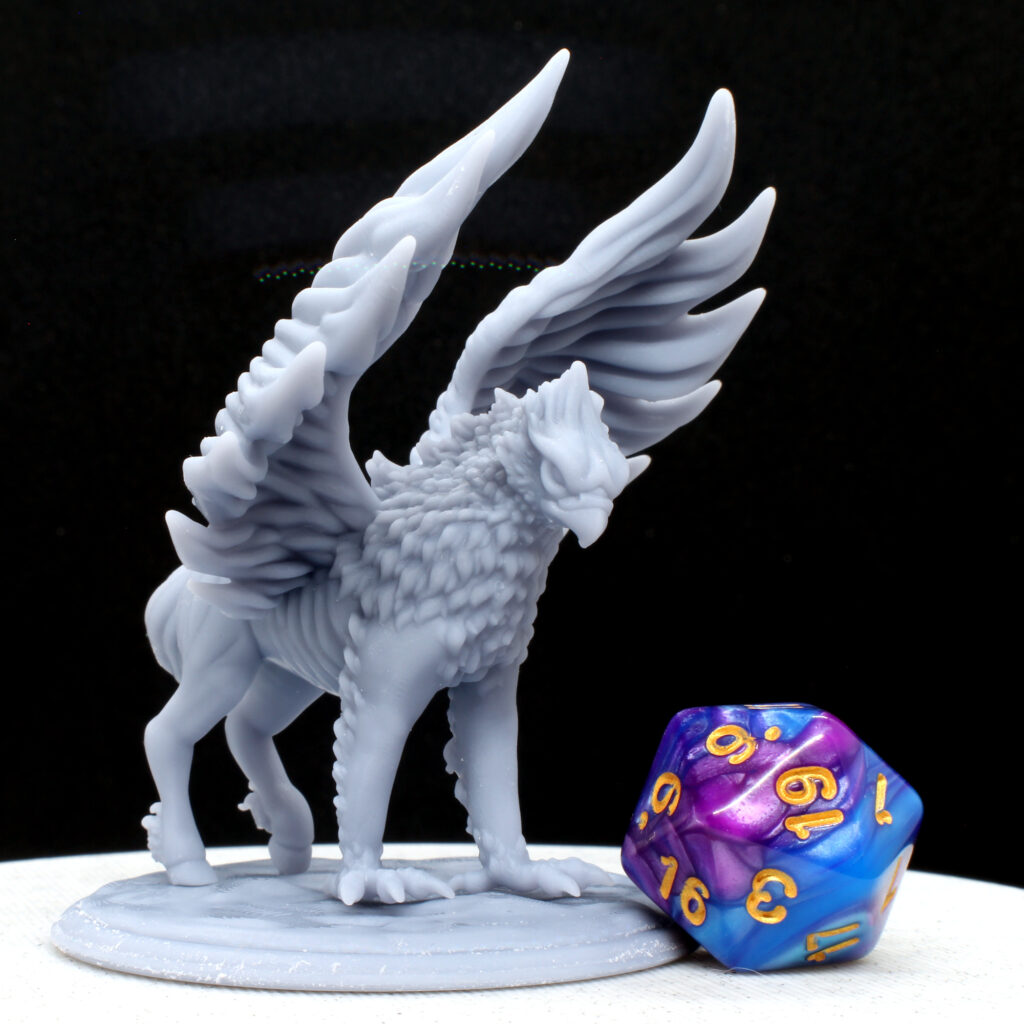
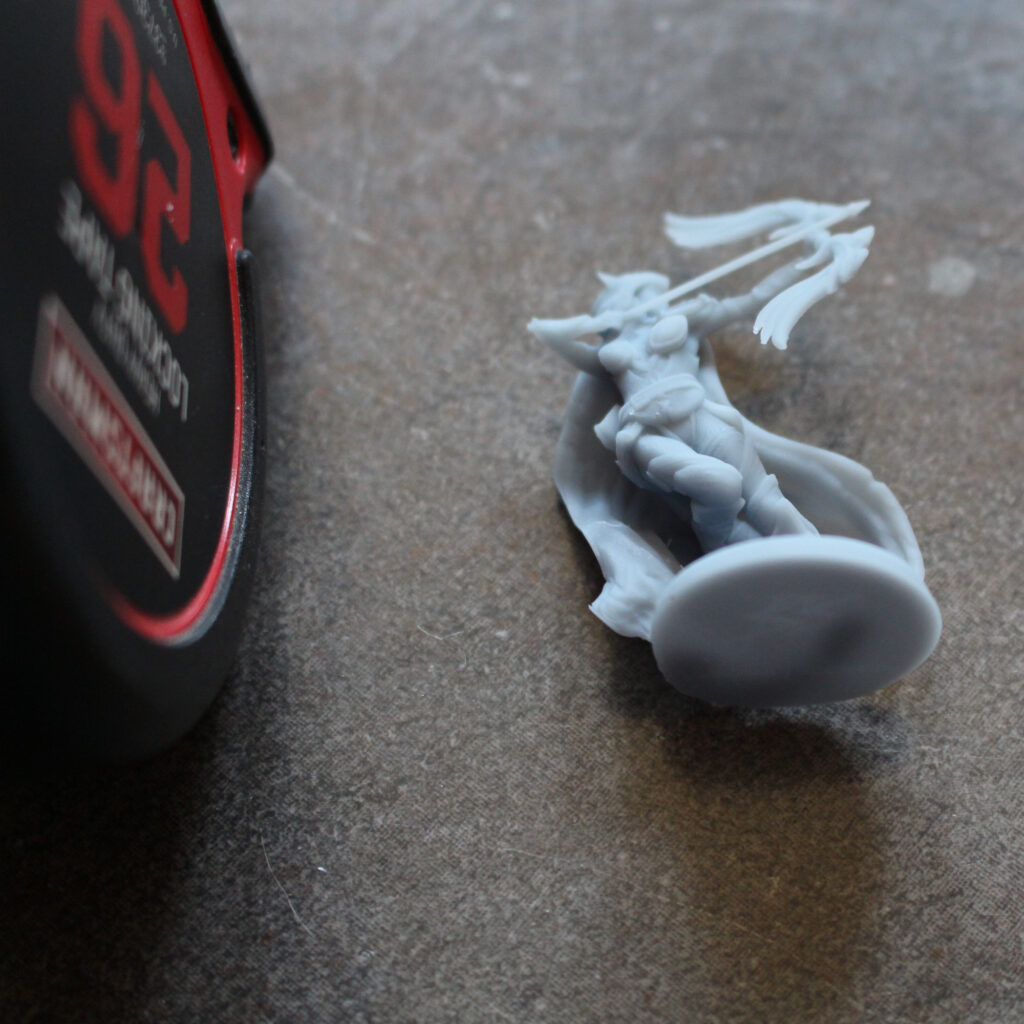
The Manticore figure pictured in this article was designed by 3DsOfSan and is available for purchase here.
Did you find this article helpful?
Support us on Patreon and I’ll write more!