


Check out a newer article with our updated support removal process here.
Resin printers use supports to keep appendages from floating away in the tank. After printing is complete, these supports need to be removed. This is easiest to do while the figure is still fairly soft, before the final curing. A little patience and practice can help bring out the details in your print!
Start with a Hot Water Bath
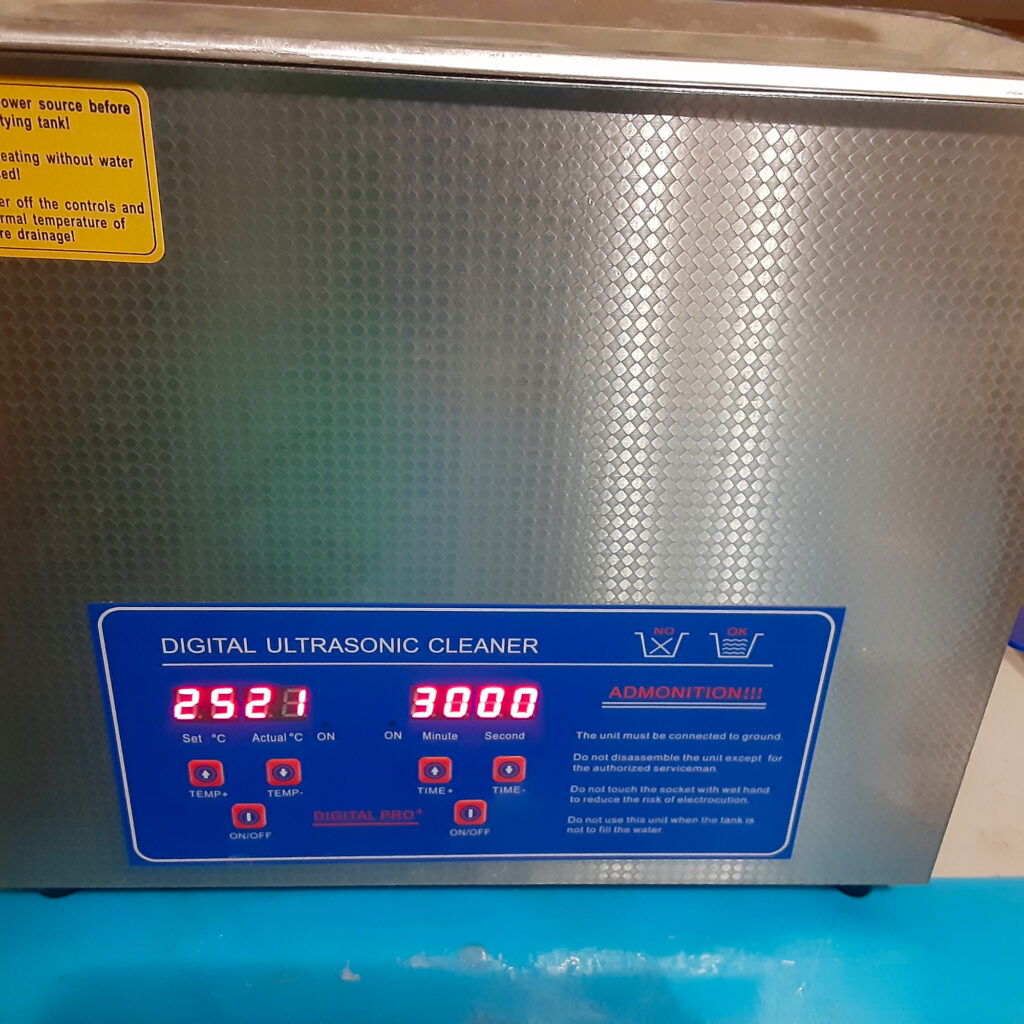
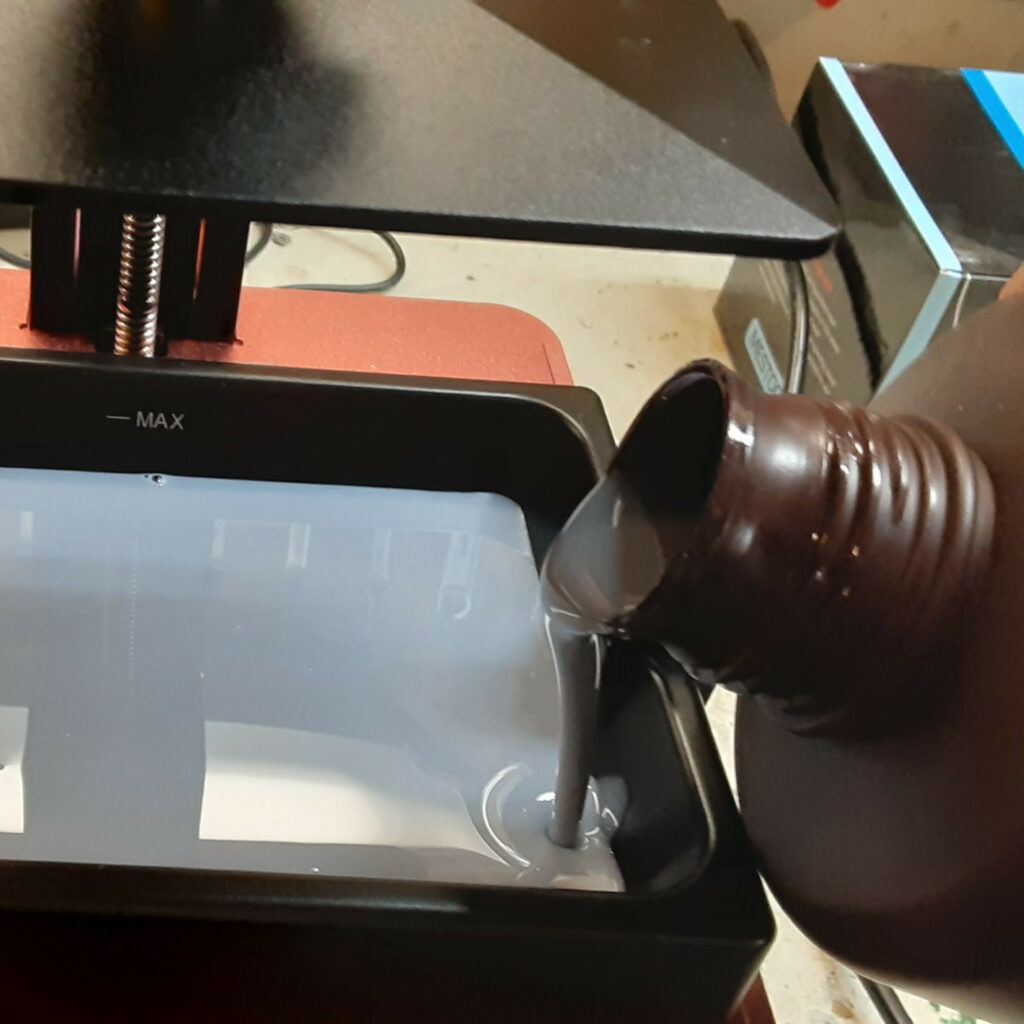
After thoroughly cleaning your new prints, they are ready to have their supports removed. Start by soaking them in hot water for about five minutes. The hot water straight out of the tap works fine; the water should be gently steaming but not hot enough to burn you (about 130º F or 55º C).

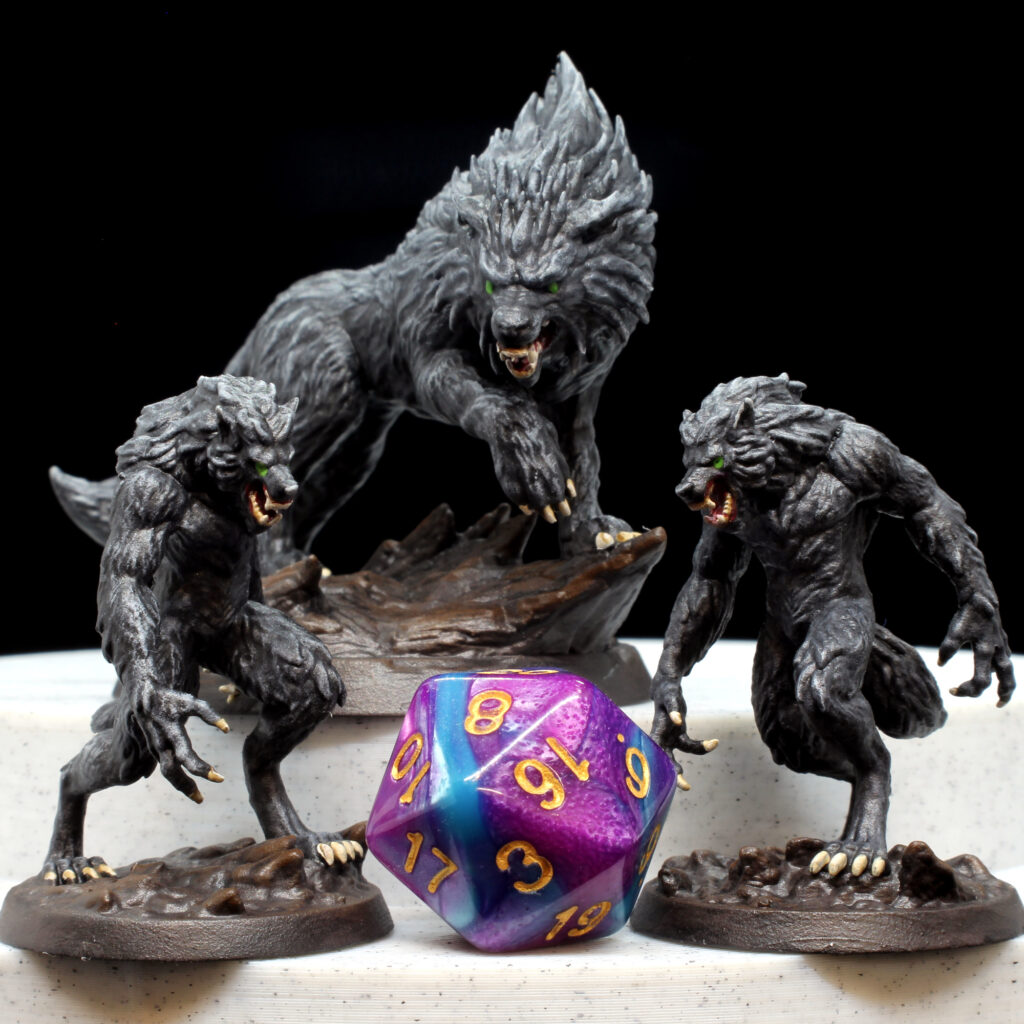
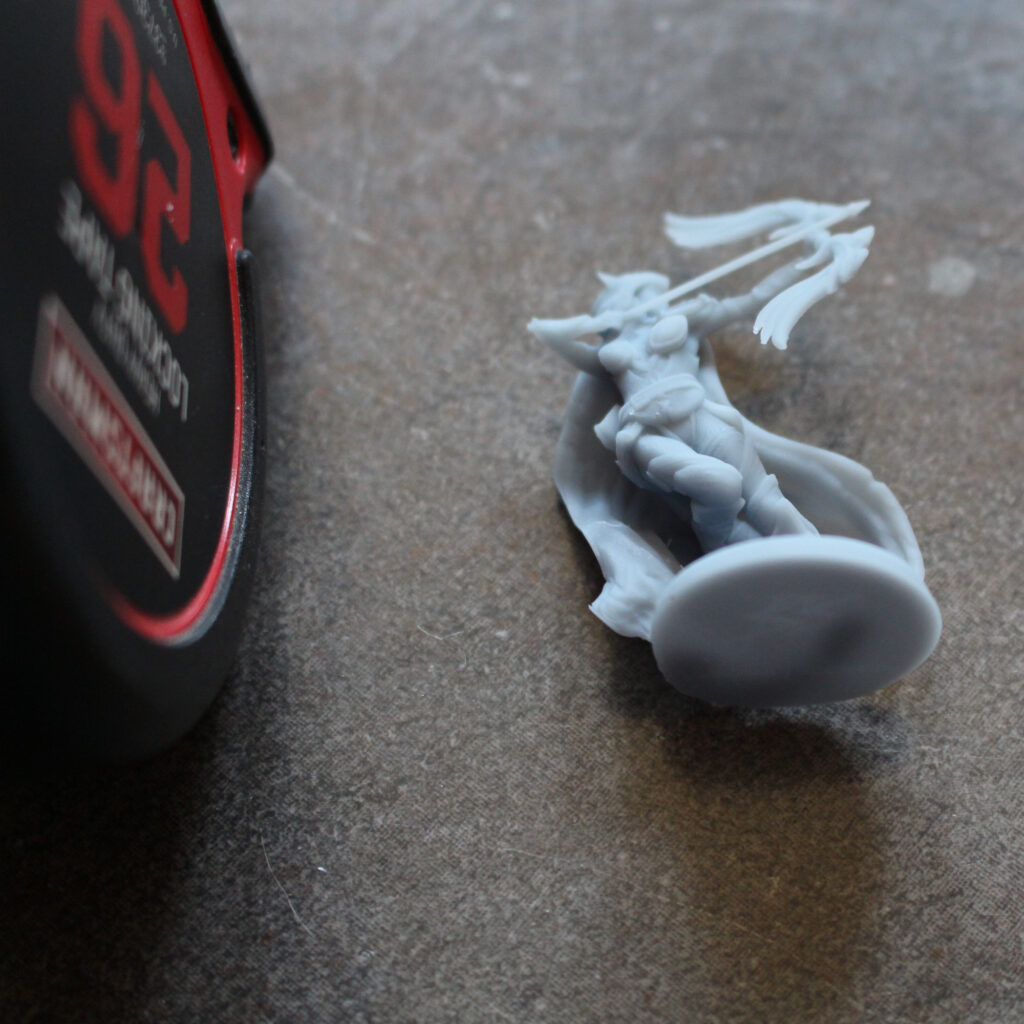
You don’t want to leave your figures in the hot water too long–they are made of plastic, after all! But a short bath helps to soften the smallest supports and allows fragile details, like the delicate teeth on this werewolf, to bend instead of snap as you work your clippers and sanding wands around them.
Work Small to Big
When your print is finished soaking in the hot water,, it’s time to start removing the supports. I start with the most delicate parts first, because they need the most care. Once these fragile areas are separated from the support structure you don’t have to worry about accidentally tugging on them while you’re working on the sturdier supports.

With this werewolf figure I started with the most detailed and delicate feature: the fangs. They’re almost the same size as their supports, and are easy to rip away with the support structure. A gentle tug with tweezers frees the support while leaving the teeth behind.
Working from small to large features, the next area to be tackled would be removing the supports from the slender claws, then the tail and legs. By the time I get to the sturdy supports under the base, the delicate details are no longer in jeopardy, and I can just pluck any remaining supports off.
Follow up support removal by sanding away any marks left behind. Bases in particular will benefit from a quick sanding to smooth out the edges and ensure a flat bottom.
The Tools of the Trade
The right tools can make the job easier!

Some of the tools I find invaluable for support removal are:
- Magnifying Glasses mounted on a headband
- Simple Kitchen Timer (so I don’t let the figures rest too long in the hot water)
- Clippers, Tweezers, and Sanding Twigs (all conveniently packaged together in this kit).
Ready for Curing
Now that your prints are cleaned up, they’re ready for a trip to the curing chamber!

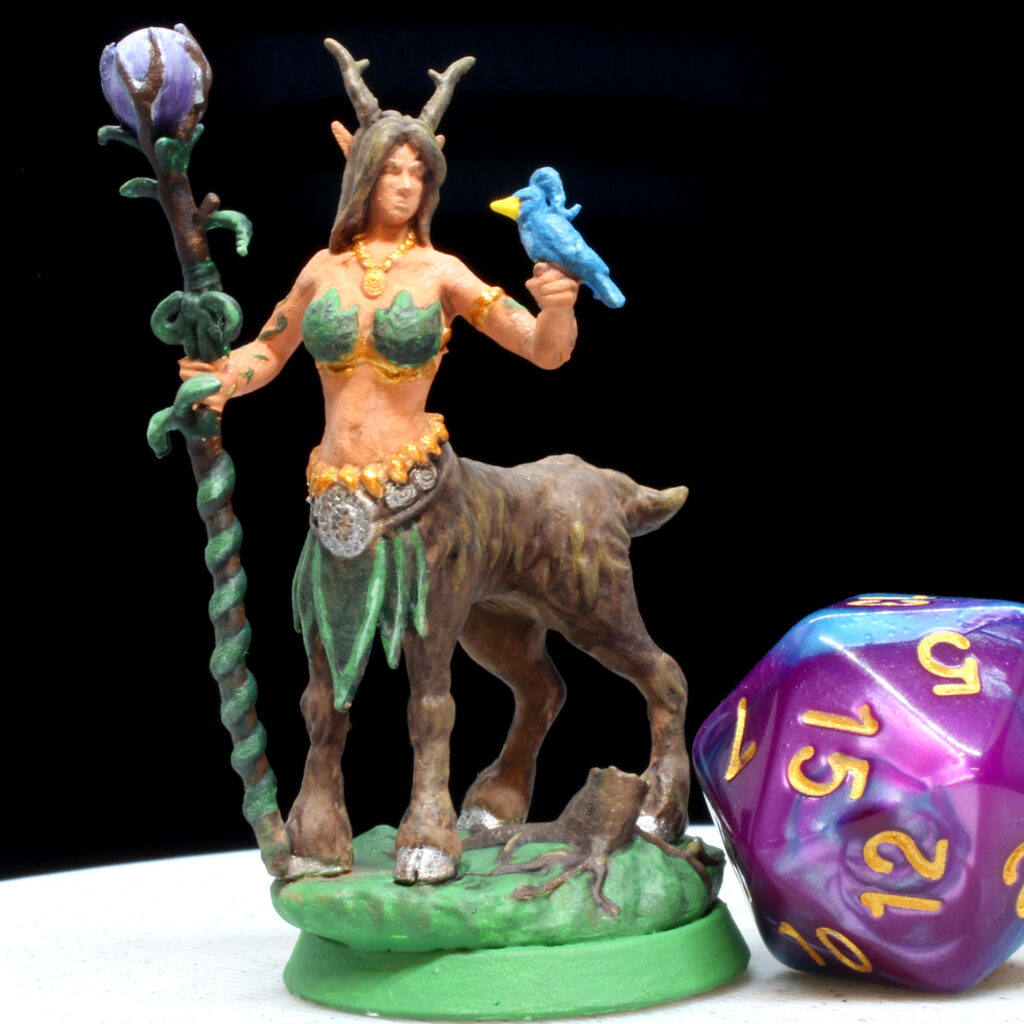
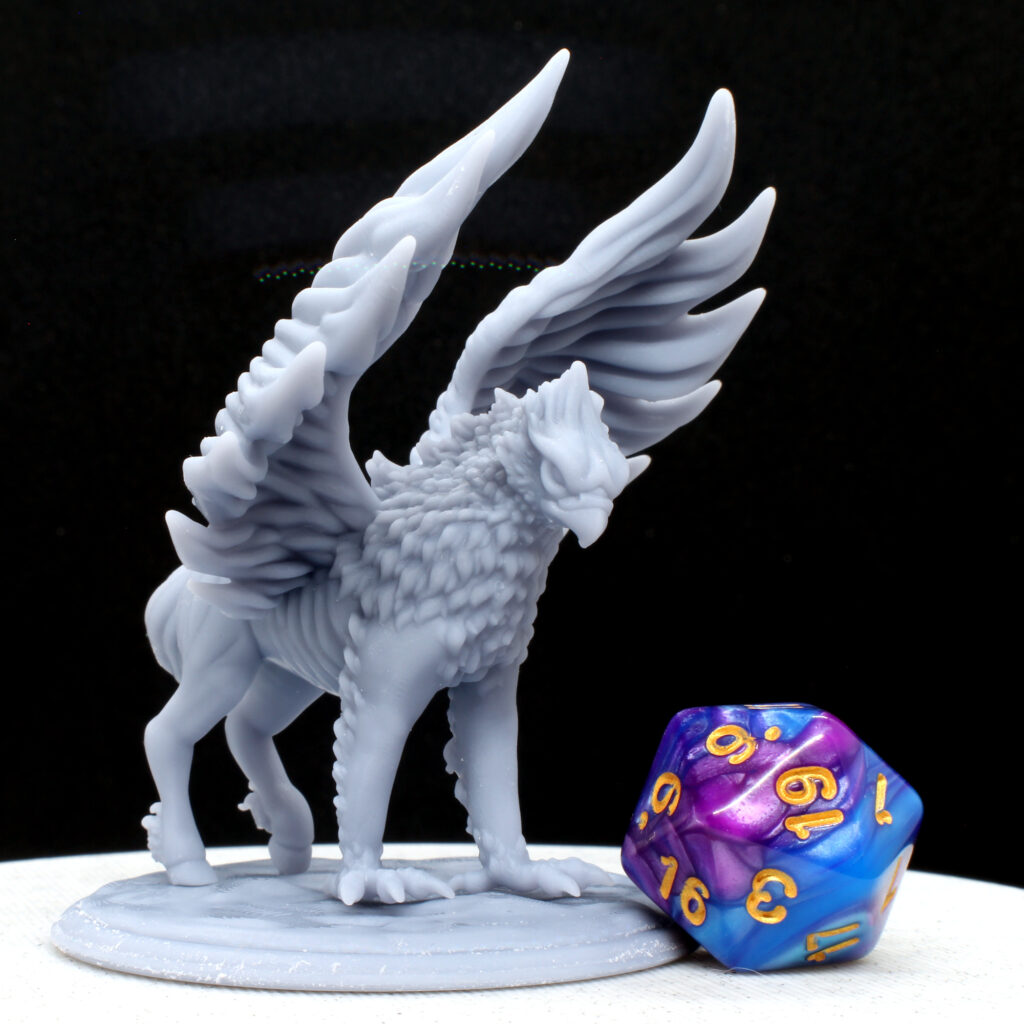
The Werewolf and Manticore figures shown in this article were designed by 3DsOfSan. Prints are available in our Shoppe.
Was this article helpful? Become a Patreon or buy me a coffee and I’ll write more!
Clicking on the Amazon Associate links in this article helps me pay the bills–and write more articles!