


Let’s talk some sheet: FEP sheet to be more precise. The FEP is a replaceable component in every resin printer, but how do you know when it has turned from the path of righteousness and gone bad?
If your resin printer has grey ooze leaking from the vat, you just might have a bad FEP. A tear in the bottom of the vat can cause Rapid-Unscheduled-Resin-Outflow, or “RU-RO!”
Far more common of an issue is an area of the FEP that becomes worn out. It’s seen its fair share of minis and is ready for retirement. Opaque spots will form and UV light has a hard time making it through to harden the resin. The result? Weird prints. I’m talking beholders-randomly-missing-some-eyeballs kind of weird.

We use very fast lift settings on our resin printers at the Magic Shoppe (they go to 11!) which probably beat these things up even worse. Because of this, changing the FEP sheets has become a routine job.
Removing the Old FEP
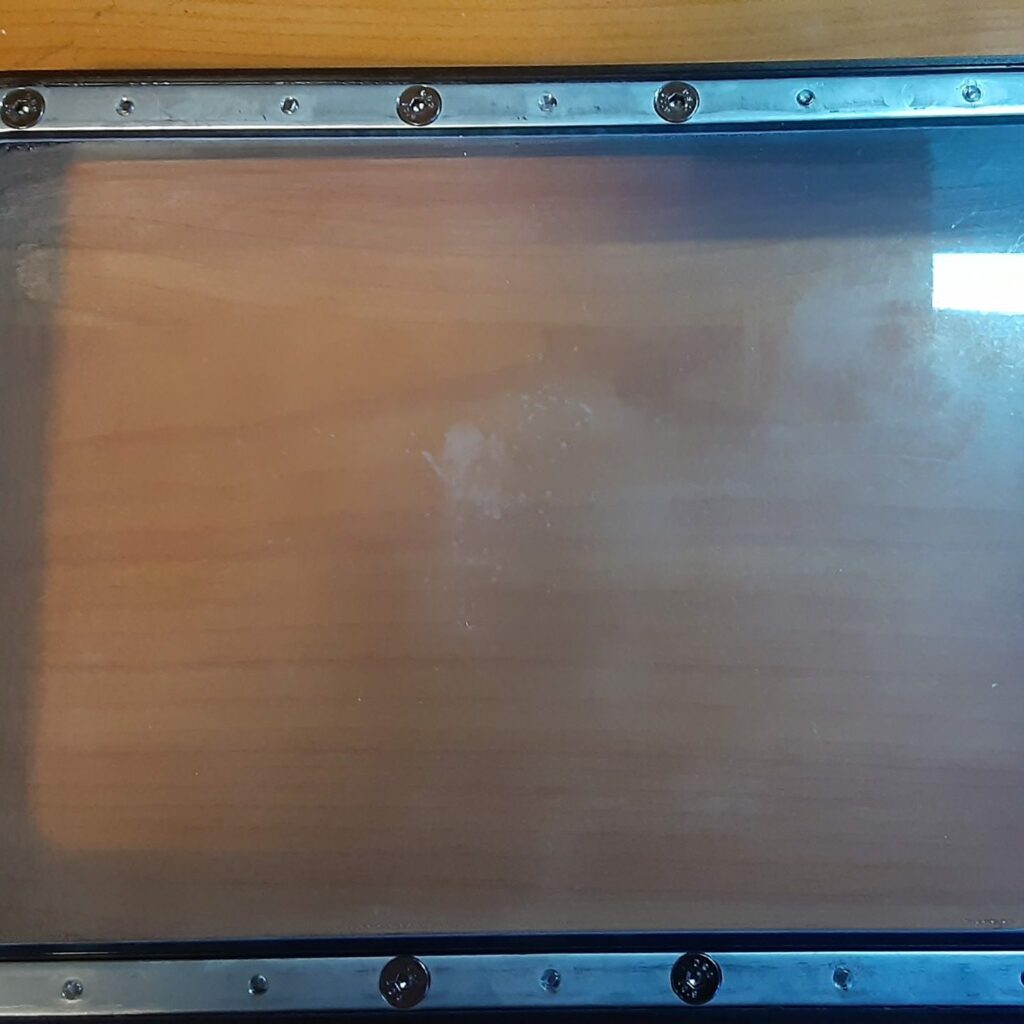
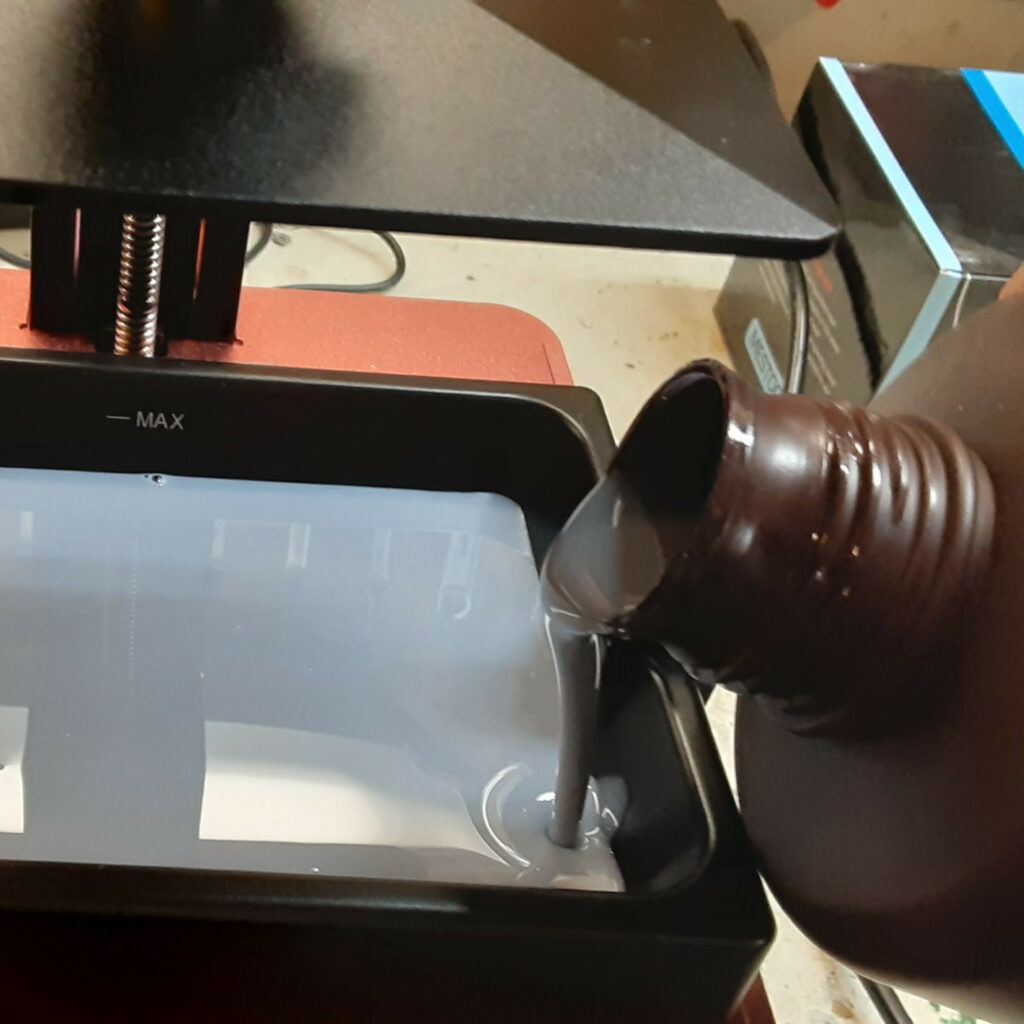
Start by emptying the resin from your vat and clean it as good as you can. You won’t be able to clean it all because some of the resin will get stuck in between the FEP and vat where it makes a seal. Lay the vat upside-down on a flat, clean surface.
Using the appropriate sized Allen bit, begin removing all of the screws holding the FEP frame to the vat. I use an electric screwdriver to speed up the process. Note: do NOT use power tools to reassemble!
Once the screws are out, remove the FEP frame from the vat.


Switching to a smaller bit, remove all of the FEP frame screws. Separate the two halves and remove the old FEP. Add that FEP to a landfill.


Installing the New FEP
Get out your new FEP sheet. It will have a protective sheet on each side. Remove those. If you have a problem removing those, some blue tape stuck to both sides can pull them apart more easily.


Now things get weird. With the bottom half of the frame facing up (the same way you took it off), place a sponge or packing foam in the middle. Don’t ask why, just do it. Why? Well fine, I’ll tell you. We need something in the middle to keep tension off of the FEP so it does not tighten down too much while we’re reassembling the frame.
Place the FEP over the sponge so that it is centered as best you can get it.


Place the top of the frame onto the FEP. Starting from the corners and working inward, begin adding the screws. You will be punching these through the FEP material so it might take a little pressure. Make sure the FEP stays centered the whole time. After you get a few screws in, the piece should stay centered by itself.


Place the completed frame back onto the vat and replace the screws in the same way you did with the frame, starting at the corners. Do not tighten them fully, just snug them down. When the screws are all in, go around again and tighten. This will stretch the FEP and make it start to resonate. Resist the urge to play it like a drum unless you thoroughly enjoy replacing broken FEP sheets. In that case, have at it, Ringo!


Using a knife or razor blade, trim off the excess FEP material. Be extra careful here because you can easily punch right through the new FEP. Keep the pressure away from the middle and go around the outside edge of the frame. Remove the material and voila! Your vat has a brand new FEP sheet!


Was this article helpful? Become a Patreon or buy me a coffee and I’ll write more!
Clicking on the Amazon Associate links in this article helps me pay the bills–and write more articles!