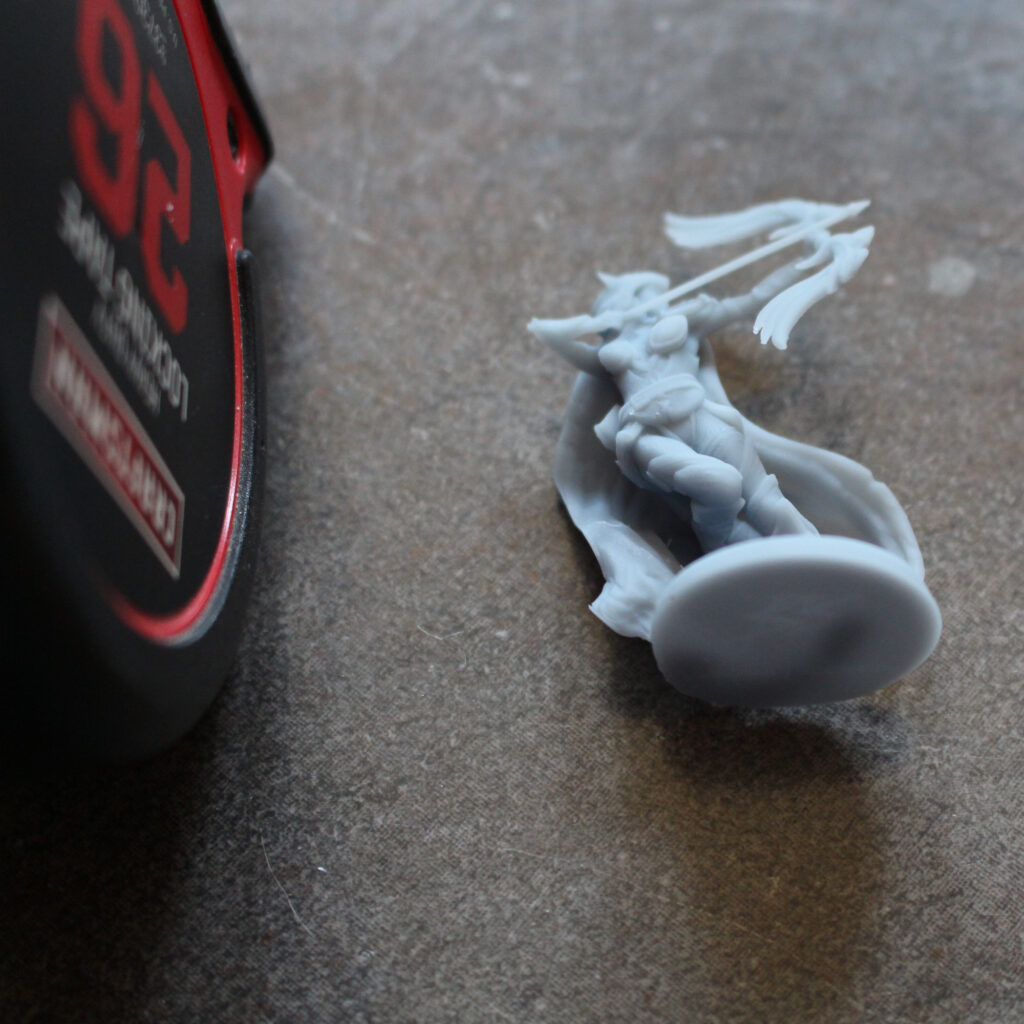


This post includes step-by-step instructions on painting a 3D resin printed Minotaur miniature. This particular figure was designed by LaLouve3D, and printed, primered, and painted versions are available in our shop. This paint scheme will work for our other Minotaurs too! I’ll go over the colors I use to achieve the look in the photos, but I encourage you to use this as a starting place and to experiment with your own color combinations.
First, gather your materials. Clicking on any of the Amazon Associate links in this article would be a great help–it will help me pay the bills, and write more articles! Here’s some of my favorite painting supplies:
- Paintbrushes: You’ll need a larger brush, a dry brush, and a small detailed brush. A set like this will have you covered.
- Paint: Army Painter paints work great! The basic set will work fine if you don’t mind blending your own colors. This larger set includes most of the colors that I use here. I also used colors from Army Painter’s QuickShade Wash set and Metallic set. You can also buy the colors individually (I’ll include links as I mention the specific colors).
- Wet Palette: Gives you a surface to blend your paints on, and keeps them from drying out if you need to stretch your project out over a few days.
- Magnifying Headset: You’ll need to be able to see all those tiny details!
- Painting Handle: Lets you twist and turn the figure so you can see it from all angles, without getting paint on your hands.
Step 1: Primer
There’s not a lot of finesse in the first step. Take your Minotaur outside (or somewhere well ventilated) and give him 2-4 coats of gray primer. We offer priming services with all our figures, so you can have us do it for you and skip this step.

Step 2: Color Blocking
Now that the primer on your figure is dry it’s time to start blocking out your colors! I used Fur Brown for the Minotaur’s body, and Matte Black for his mane, tail tip, hooves and horn. Next, I used Oak Brown for the wooden part of his shield and club. I also painted the tree stump at the same time. For the loin cloth and the metallic bits of the shield and club I used Weapon Bronze, and then I went back over the weapons with Bright Gold highlighting the details like the center of the shield and the tips of the spikes. Finally, I used Angel Green for the base. Give each area 2-4 thin coats, building up the colors until they’re nice and even while at the same time keeping the paint coverage light so the details of the figure show through.


Step 3: Shadow Coat
Now it’s time to exaggerate the details! QuickShade washes are darker colors that settle into the crevices on your figure, helping the texture of the piece stand out. I used a few different ones for the different areas of the Minotaur: Dark Tone over the stump, club, and shield, Mid Brown for the Minotaur’s body, Green Tone for the base, and Red Tone for the loincloth. Make sure to let everything dry before going on to the next step.

Step 4: Dry Brush
Now you want to highlight the raised areas and add in some details. First, I started by dry brushing the Minotaur’s body and the stump with Leather Brown. Using a light hand and keeping the paint on the brush thin by dabbing it frequently on a paper towel, I painted against the grain trying to get only the raised areas to pick up paint. Then I used Tanned Flesh for some light details, like the inside of his ears and the tips of his horns. I also added a couple highlights to his mane to help make it interesting. For his facial details, the eyes and nostrils, I used Matt Black. I finished the figure off with some Bright Gold details on the club and shield, and used that same color to exaggerate the folds of his loincloth.

Step 5: Basing
Now that the figure is finished, it’s time to take a look at what he’s standing on. A quick dry brush of Goblin Green across the top of the grassy area and a coat around the rim of the base complete the figure. The Minotaur looks great there, but to make him even more interesting I added some flocking and a tuft to his base. The extra touch helps the figure stand out!


Step 6: Clear Coat
The last step! Don’t forget to give your figure a quick coat of Matte Clear Coat to protect the paint! It will help too keep the paint from chipping and preserve the color for longer.

Was this article helpful? Become a Patreon or buy me a coffee and I’ll write more!