


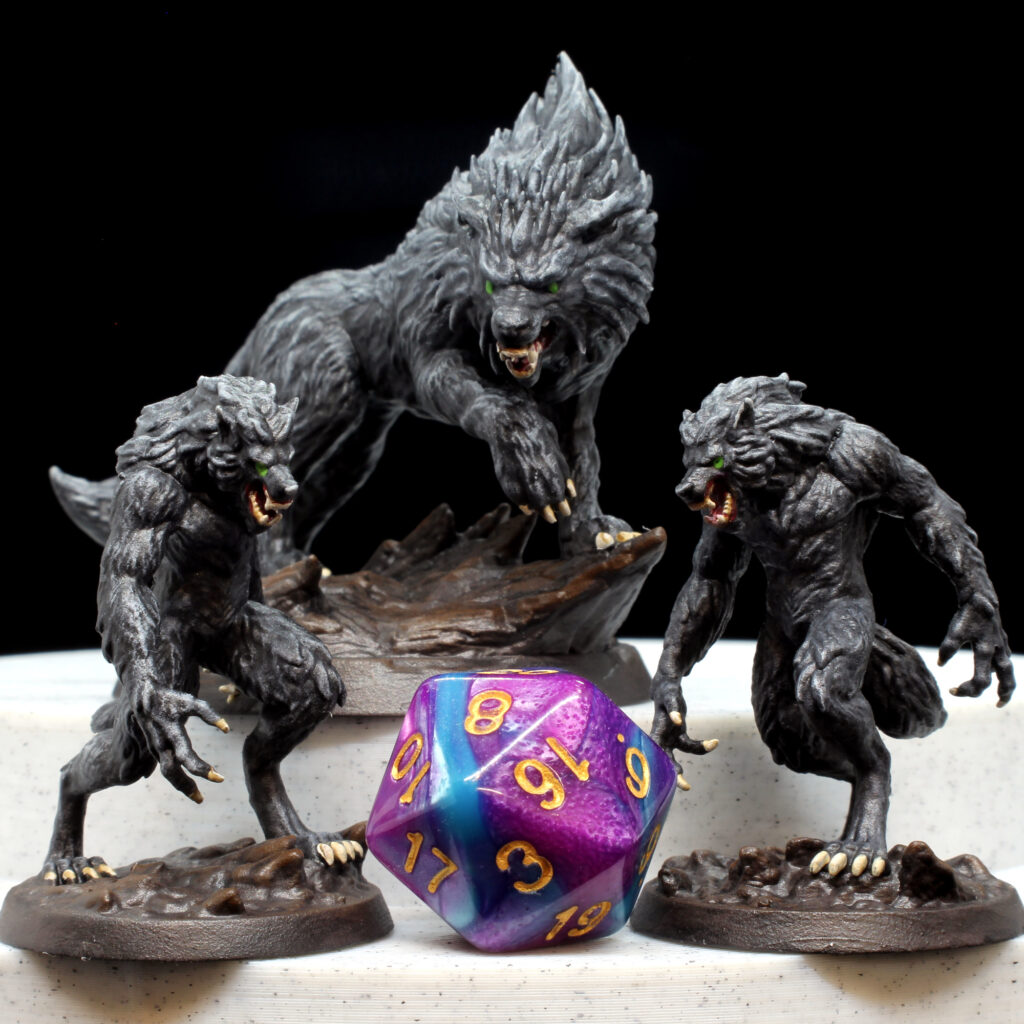
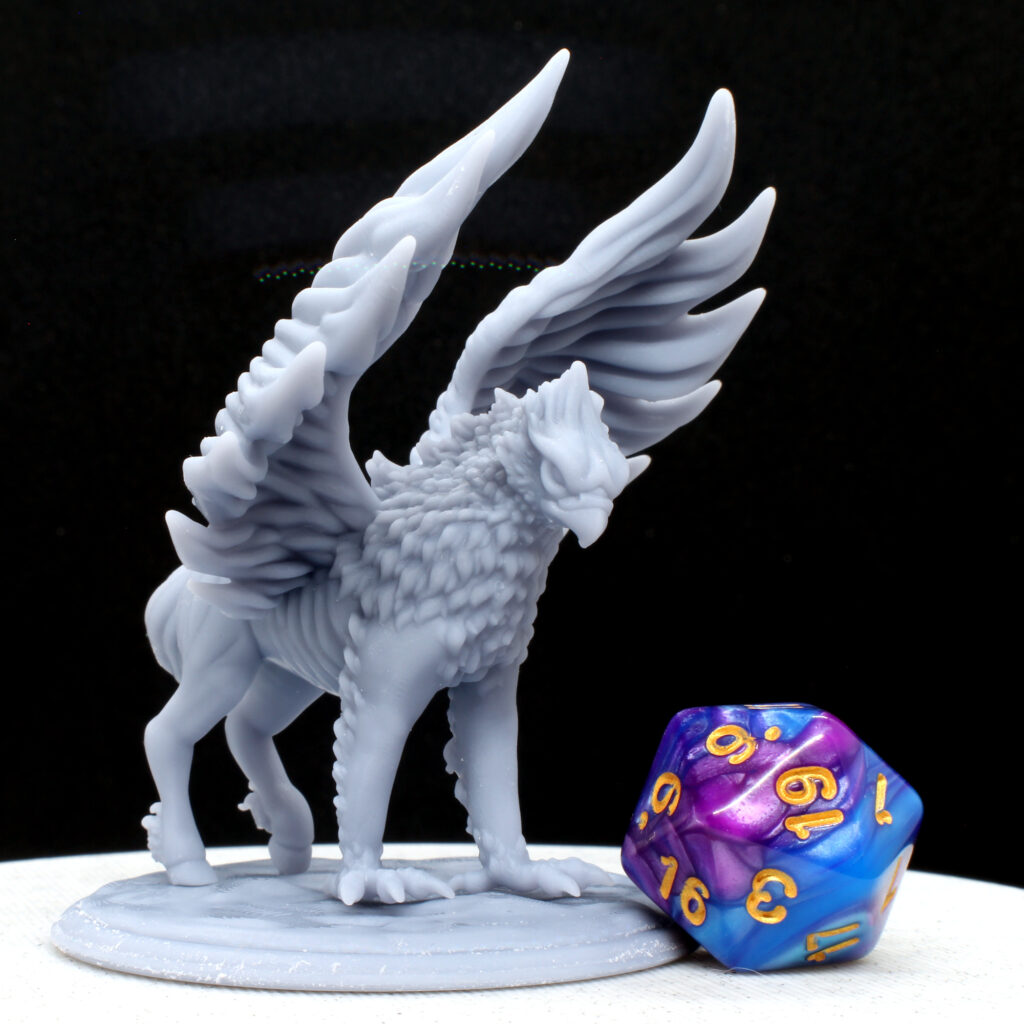
In a previous post, I outlined the cleaning method we used at the magic shoppe for removing excess resin from fresh 3D prints. Since then, we have modified our resins to be more durable.
Our improved formula is a bit “stickier” and we found that the old cleaning method no longer worked. A new cleaning regime was needed to tackle the challenges of the stronger resin. In addition, we were printing larger pieces that required a larger cleaning area. We also discovered that Ziploc bags were no longer the most effective way to clean the models.
The first step in a our new method was to increase the strength of the cleaning solvent. Because we use alcohol as our solvent, increasing the ABV (alcohol by volume) seemed like the best place to start. I found that 99% isopropyl alcohol fit the bill and was not much more expensive than the lower ABV ethynol that we had been using.
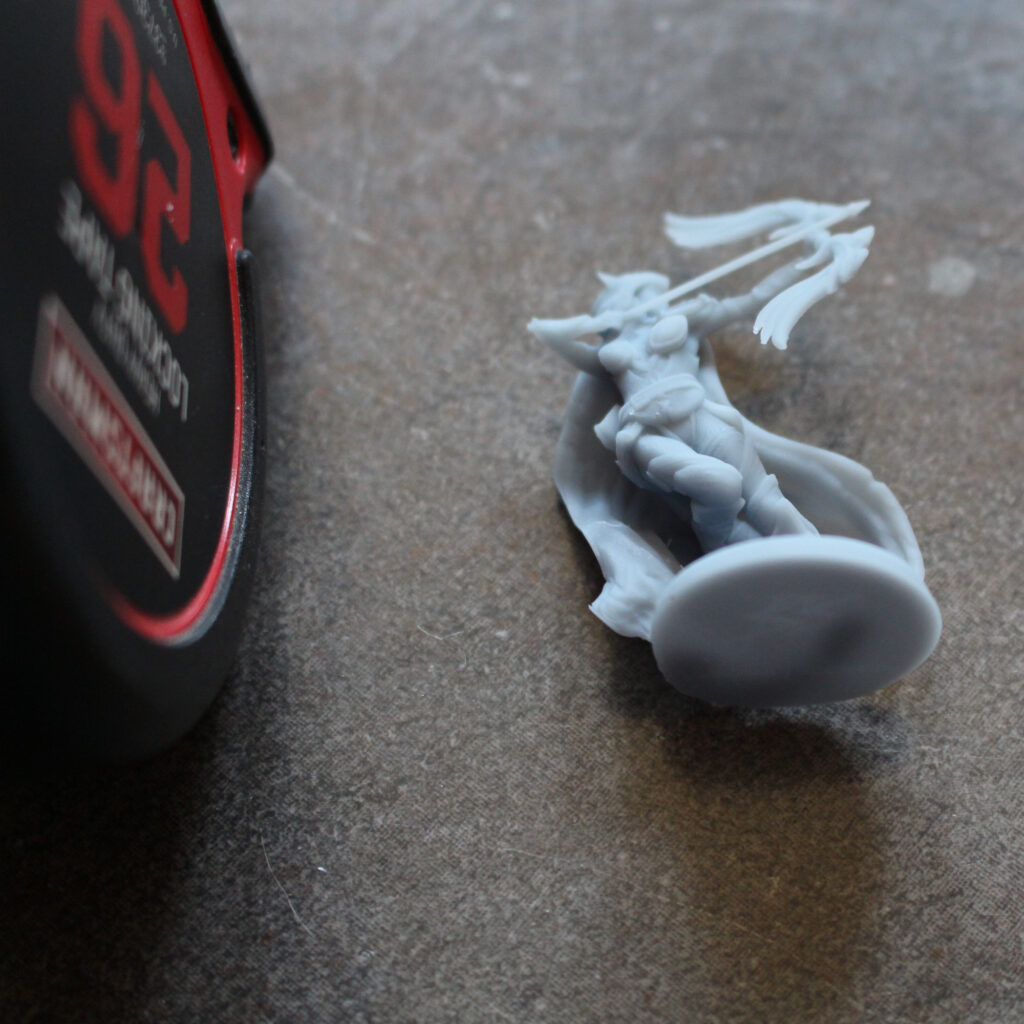
After a few tests with the isopropyl alcohol, it was clear that this was the way to go. I no longer needed to scrub the models with a toothbrush. In most cases, the residual resin came right off simply by using the ultrasonic cleaner.
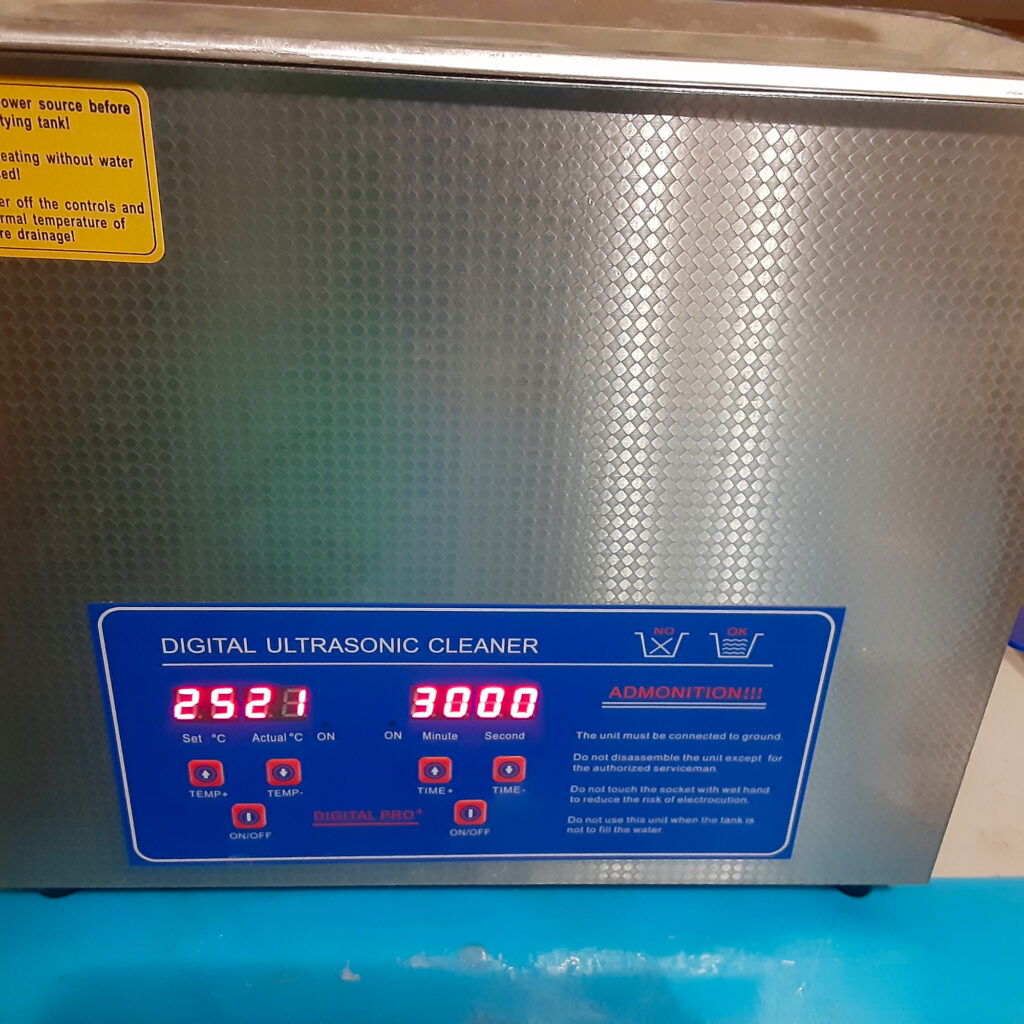
In our previous method, we submerged Ziploc bags filled with alcohol into an ultrasonic cleaner, itself filled with water. The cleaner would be heated to help the alcohol remove excess resin. Since then, I have found that heating is not necessary when using 99% isopropyl alcohol. I used Ziploc bags to keep the highly volatile alcohol from coming in contact with the heating element while in the cleaner. This was a necessary safety precaution that prevented rapid unscheduled disassembly, or explosions, if you will.
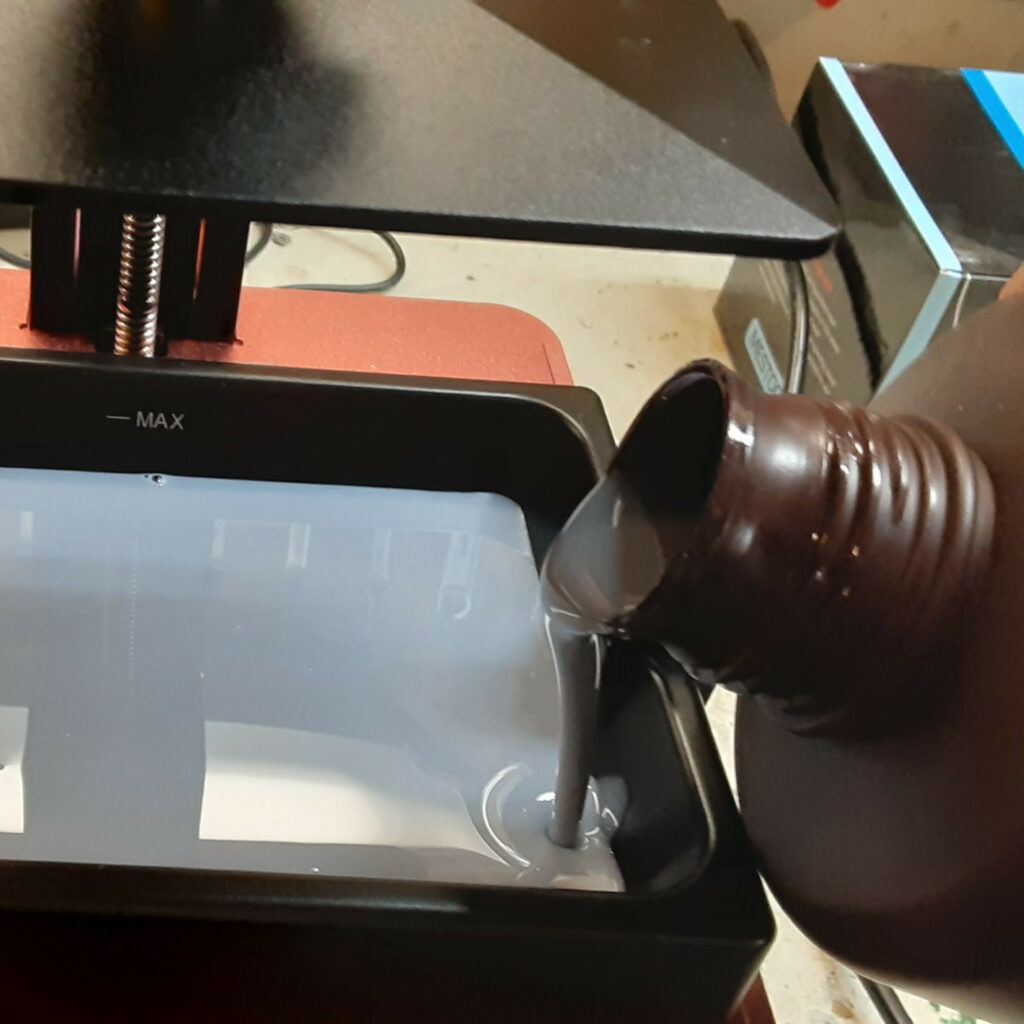
Since we are no longer heating the cleaner, it is no longer necessary to use Ziploc bags. Now I simply put the models directly into the cleaner’s basket, set the timer for 3-5 minutes, and wait. Once the timer goes off, I remove the basket allowing excess alcohol to drip back into the cleaning vat. Afterwards, I gently clean the models with running water. No muss, no fuss. Not only is this method simpler than the Ziploc bag method, it allows for larger pieces to be put into the cleaner versus what can fit into the Ziploc bags.


The new cleaning method saves time and money since the cleaner no longer needs to be heated, solvents no longer need to be transferred between containers, and no Ziploc bags need to be purchased. Win-win!
Was this article helpful? Become a Patreon or buy me a coffee and I’ll write more!
Clicking on the Amazon Associate links in this article helps me pay the bills–and write more articles!

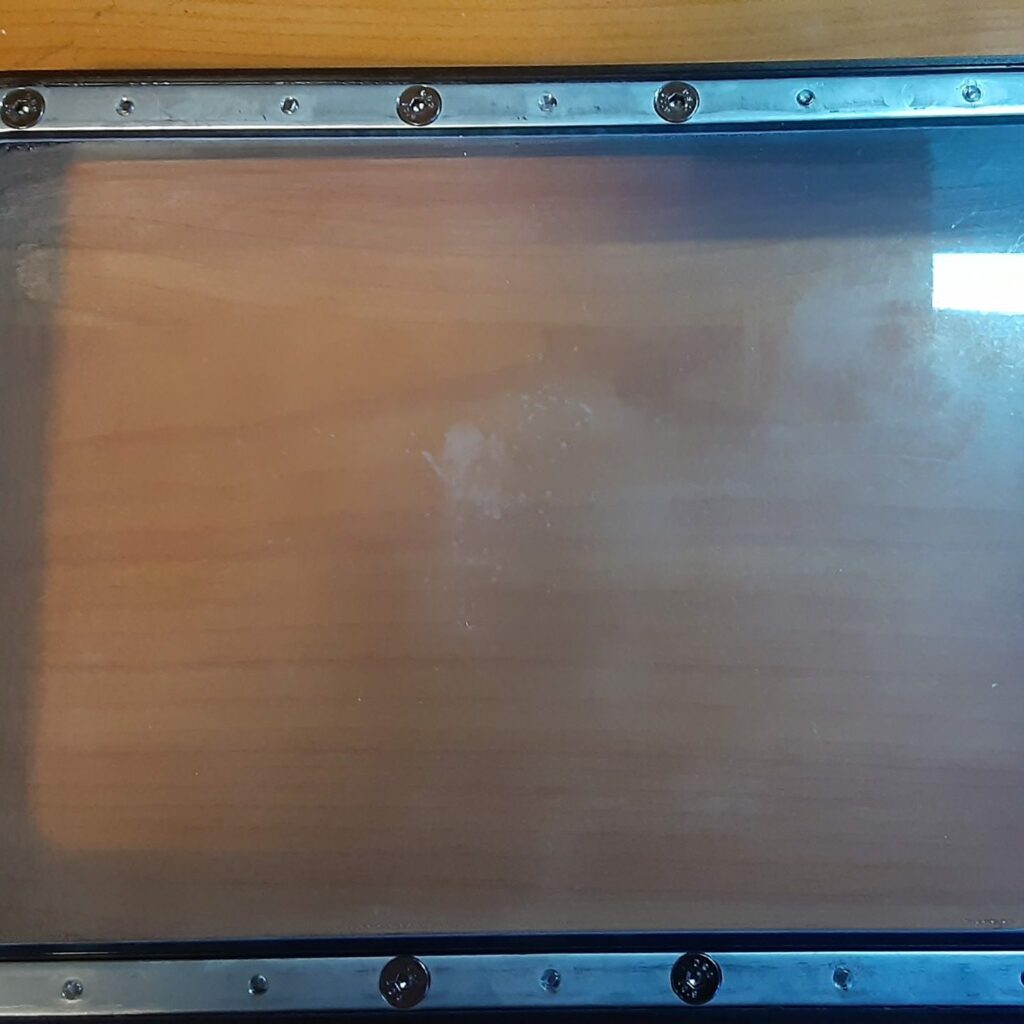


So the ultrasonic cleaner is filled with IPA instead of the typical water, as long as no heating is used this is fine right?
Correct! I have used IPA in the ultrasonic for years without a problem. Just make sure not to use the heating at all or you would risk a fire.
How often do you need to change the IPA in the ultrasonic cleaner? Also, are you going directly from getting the print off the build plate to the ultrasonic cleaner, or is there another process in the middle that you follow?
Thanks.
I change out the IPA in the ultrasonic once a year. Dirty IPA in the first stage of cleaning does not seem to affect the final outcome of the prints, especially when doing a second stage with “clean” IPA or solvent.
The prints hang tilted on the printer for at least an hour to drip off the excess resin, and then the entire build plate goes onto a silicone mat. From there, they are popped off and put straight into the ultrasonic cleaner.
I would still run the heater just so the supports all fall off ? tho I use mine @60 deg for getting the print off the build plate / prewash then use other for cleaning the parts
I switched to using Simple Green instead of alcohol so that I can use the heater at 45*C for help with cleaning and support removal.
There have been reports of these units exploding when the heater is used with alcohol as the cleaner, so I would not recommend it.