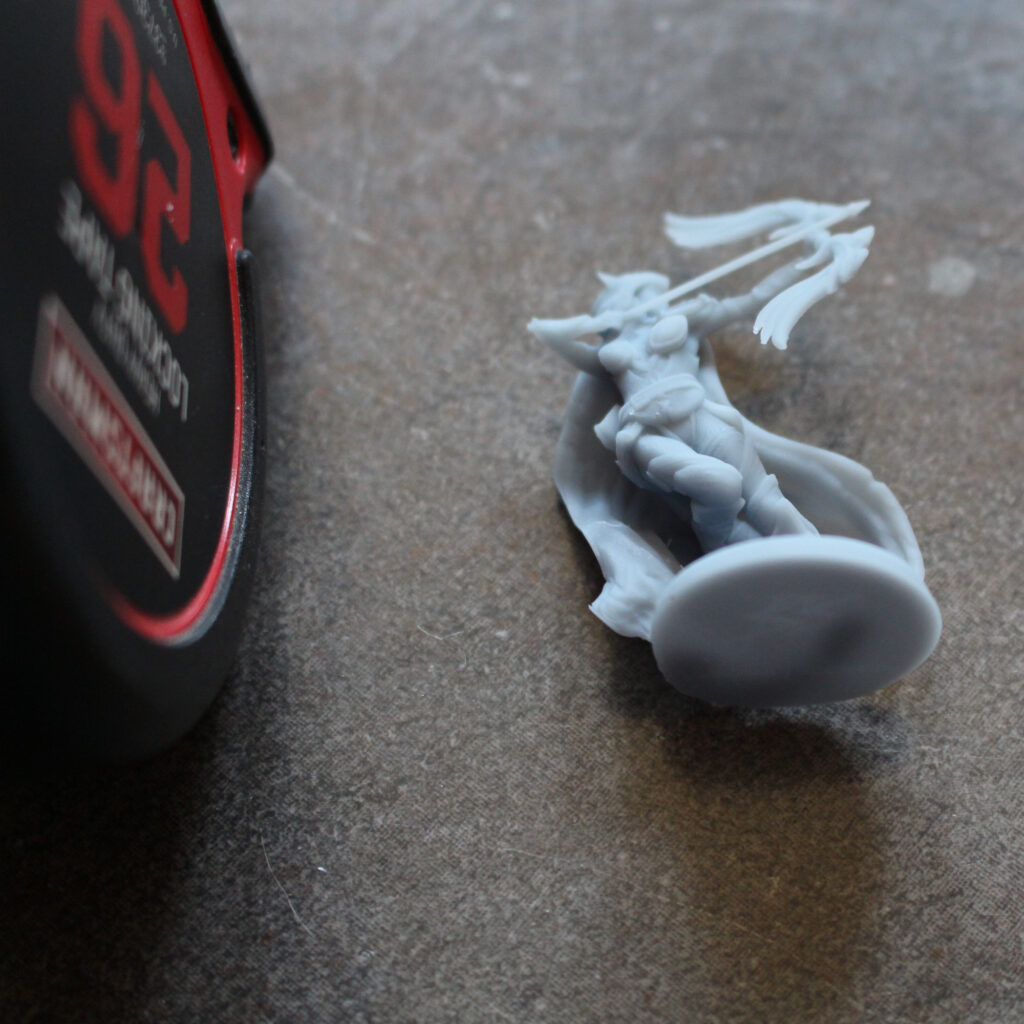


This post includes step-by-step instructions on painting a 3D resin printed Grim Reaper miniature. This gothic figure was designed by 3DsOfSan, and printed, primered, and painted versions are available in our shop. We offer both 75mm and 32mm scale versions of the character, and this paint scheme works with both. I’ll be painting the smaller figure for this tutorial. I’ll go over the colors I use to achieve the look in the photos, but I encourage you to use this as a starting place and to experiment with your own color combinations.
First, gather your materials. Clicking on any of the Amazon Associate links in this article would be a great help–it will help me pay the bills, and write more articles! Here’s some of my favorite painting supplies:
- Paintbrushes: You’ll need a larger brush, a dry brush, and a small detailed brush. A set like this will have you covered.
- Paint: Army Painter paints work great! The basic set will work fine if you don’t mind blending your own colors. This larger set includes the specific colors that I use here. You can also buy the colors individually (I’ll include links as I mention the specific colors).
- Wet Palette: Gives you a surface to blend your paints on, and keeps them from drying out if you need to stretch your project out over a few days.
- Magnifying Headset: You’ll need to be able to see all those tiny details!
- Painting Handle: Lets you twist and turn the figure so you can see it from all angles, without getting paint on your hands.
Step 1: Primer
There’s not a lot of finesse in the first step. Take your reaper outside (or somewhere well ventilated) and give him 2-4 coats of black primer. We offer priming services with all our figures, so you can have us do it for you and skip this step.


Step 2: Color Blocking
Now that the primer on your figure is dry it’s time to start painting! First, I go over the figure and touch up any areas where the primer is light with Matt Black. This figure has lots of tricky areas under his robes and inside his hood that are hard to get the primer spray into and may only have a light coat. Touch up those areas and make sure your reaper is dark and grim enough to live up to his reputation!
Next, I start painting in the different areas. The goal of this step is to establish what colors go where. Start with larger areas, like the Reaper’s flowing robes, and work towards the smaller details, like his skeletal hands. Give each area 2-4 light coats so that the color coverage is even, but the details of the sculpture still show through. I use Necromancer Cloak for the reaper’s flowing robes. For his scythe, I use Oak Brown for the handle and Gun Metal for the blade. Finally, I paint his hand and the few fingers that you can make out holding the scythe white.


Step 3: Shadow Coat
This is my favorite step! It’s easy, and it’s the first step to really making the texture and detail on your figure stand out. In case you’ve forgotten, here’s the profile of the different layers that we’re looking for:

You want the shadow coat to settle into the deeper crevices of the figure. For the Grim Reaper figure I use Dark Tone. Give the entire figure a coat, then dry your brush off on a paper towel and go back over the figure. Look for areas where the dark tone has puddled and touch the tip of your brush to the area to soak up the extra paint. You want the deeper areas to be exaggerated, but you don’t want the shadow layer over-flowing and obscuring the details of the figure.

Step 4: Dry Brush
It’s time to do the exact opposite of the last step: now you want to highlight the raised areas. Use a light hand and keep the paint on your brush light by dabbing it frequently on a paper towel. Painting against the grain will help only the raised areas pick up paint. I use Skeleton Bone for the Reaper’s hands, Necromancer Cloak for his flowing robes, and Gun Metal for the blade of his scythe. To bring out even more detail, I give the Reaper’s cloak a second dry brush layer of Uniform Grey, keeping the area smaller than the Necromancer Cloak layer.


Step 5: Details
Ready to highlight the details on your figure? Get out your smallest brush and bring attention to the parts of your figure that you really want to stand out. I trace the edges of the Reaper’s scythe with Shining Silver. Next, I paint with the flow of his robes using Ash Grey to add some contrast. Finally, I want to make sure that the Reaper’s face is a dark, impenetrable void, so I give that (and the base) a final coat of Matt Black.


Step 6: Clear Coat
Matt Clear Coat will protect your paint, helping to keep it from chipping and preserving its color.


This Grim Reaper is ready for the Gaming Table!
Was this article helpful? Become a Patreon or buy me a coffee and I’ll write more!