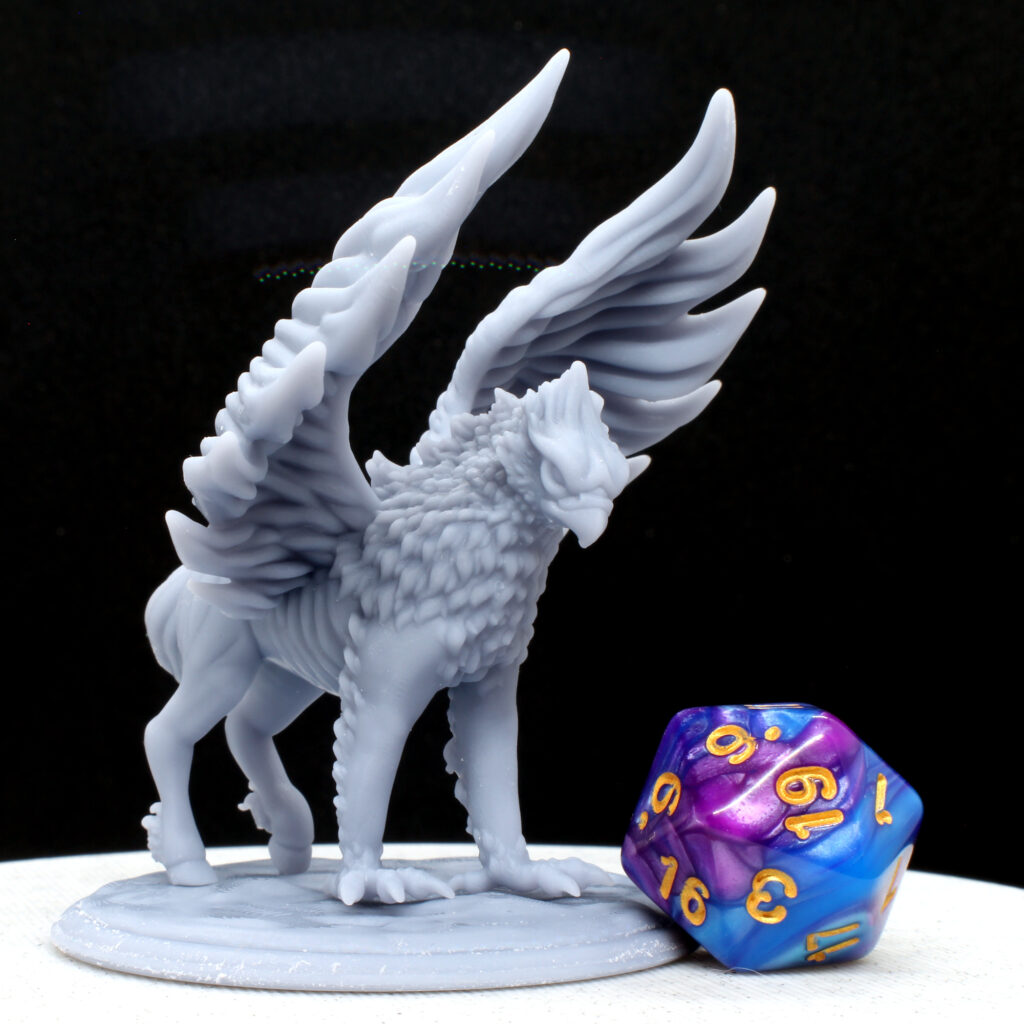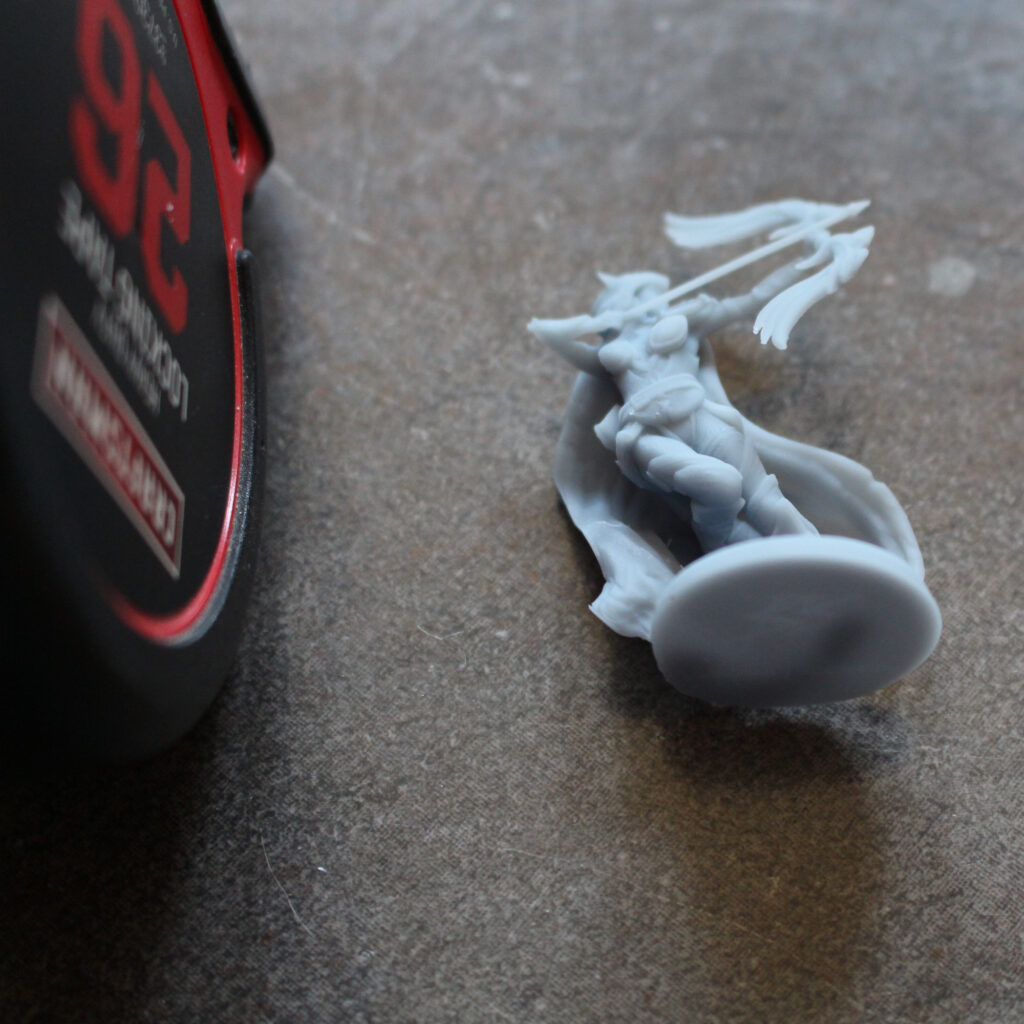


Here, I go over how to use a few simple layers and techniques to give your model an over-all ivory color scheme. I’ll be painting LaLouve3D‘s Bone Devil figure in this post. Ivory works great as a bone color, and this sort of painting style brings out the texture in the figure. I mentioned some materials you may want to use in my last post.
Clicking on the Amazon Associate links in this article helps me pay the bills–and write more articles!
Step 1: Primer
After you’ve examined your figure and done any sanding that you want to do, give it a couple light coats of white primer.

Step 2: Base Coat
Mummy Robes from Army Painter WarPaints is a nice off-white ivory color. Give the entire figure a coat.

Step 3: Shadow Wash
You’ll want a light brown color to bring out the crevices and deeper areas of the figure. I use Soft Tone. Make sure to put extra into the eye and nose holes on the Bone Devil; you want to exaggerate the skull. Be sure to soak up pools in other areas though! You want to bring out the details, not slap on so much paint that they become obscured.

Step 4: Dry Brush
Time to bring out the high spots! I go back to Mummy Robes for this dry brush layer.

Step 5: Details
I use Matt White on a small dry brush for most of the details, letting the texture of the figure decide where the lightest highlights should be. I make sure to hit the veins on the wings and the edges of the Bone Devil’s horns and spikes, and then switch to a detail brush and paint the teeth and claws–I want those areas to draw attention, and to contrast with the dark empty eye sockets. Finally, I give the edge of the base a coat of Mummy Robes to make the figure look neater.

Finished!
Give the figure a coat of Matte Clear Coat to protect the paint, and your Bone Devil is ready for the gaming table!


Both printed and painted versions of the Bone Devil are available through our Shoppe.
Was this article helpful? Become a Patreon or buy me a coffee and I’ll write more!