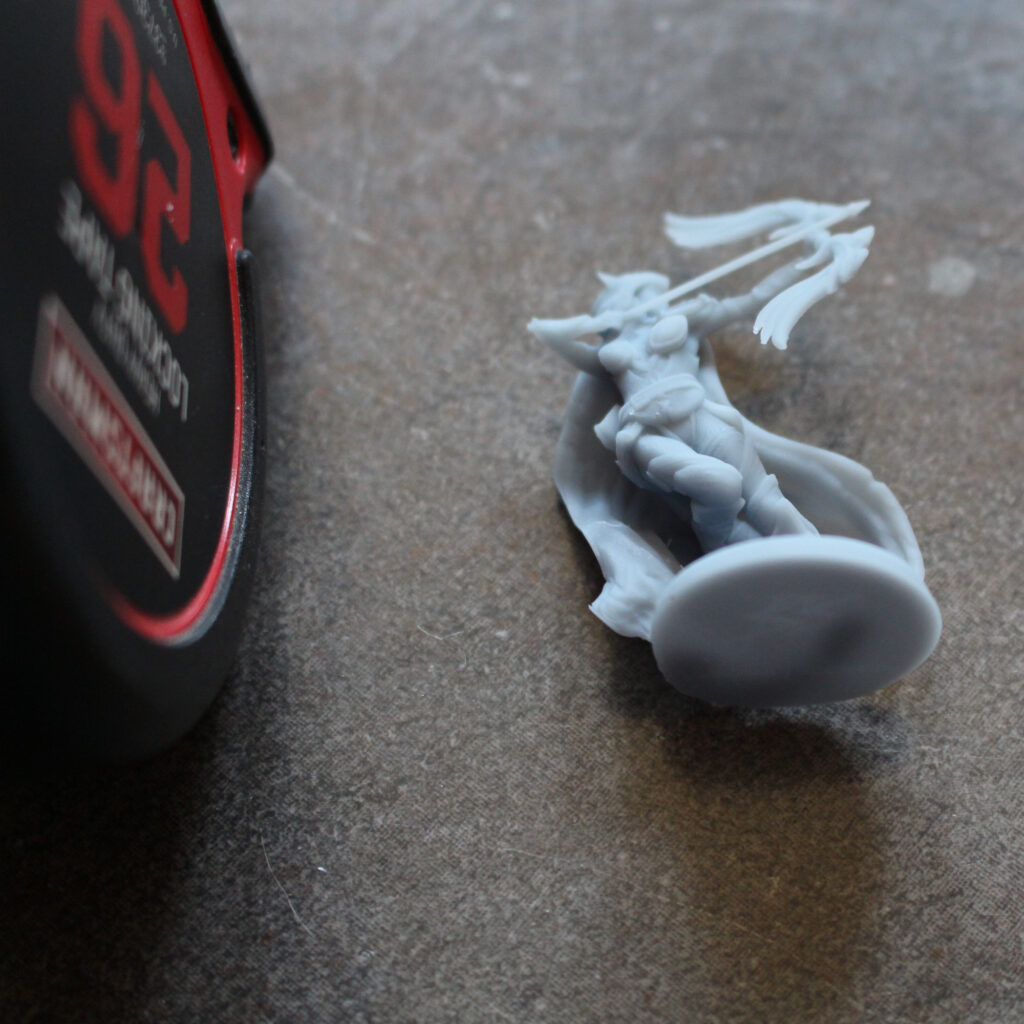


Want to learn how to give your model a weathered copper or verdigris color scheme? Using a simple layering technique is easy to do and really brings out the textured details of your miniature. To demonstrate this technique, I’ll be painting LaLouve3D‘s Kitsune figure. Some materials you may want to use are listed at the top of this post.
Clicking on the Amazon Associate links in this article helps me pay the bills–and write more articles!
Step 1: Primer
After you’ve examined your figure and done any sanding or prep work that you want to do, give it a couple light coats of gray primer.

Step 2: Base Coat
The heart of the Verdigris color scheme is a copper base. Let’s start with that and then layer on the blue-green weathered effects later. I use Army Painter’s Weapon Bronze to coat the entire figure. Take the time to go over the figure and make sure you didn’t miss any spots and then let the paint dry before going on to the next step.

Step 3: Shadow Wash
In order to bring out the deeper recesses of the figure, I give it a coat of Green Tone. This is the first step into using different layers to focus on the texture of the sculpture in order to bring out the details. Let the wash sink into the creases and crevices of the figure, using your paintbrush to soak up the extra paint. The goal is to make the deeper areas stand out with the ink, while not making the shadow areas so heavy that they obscure the figure.

Step 4: Dry Brush
Now that the shadows are taken care of, let’s take care of the high spots! Brush a light coat of Wizard Orb Green over the figure. You want to keep the paint on the brush very light. Use the texture on your paper towel as a guide: when only the raised design on the towel picks up the paint from the brush when you wipe it across, then you’ve got the right amount of paint on the brush.
Wizard Orb is one of the more transparent colors. I built up the green areas in 3 different coats, letting each layer dry before moving on to the next. You can easily adjust how much green you want in the final figure by giving it more or less coats at this stage. Compare how much greener this Kitsune is to the Wizard, who was given only a single dry brush coat.


Step 5: Details
You’re almost finished! Time to bring out the very edges and small details of the figure. Bright Gold makes a nice contrast with the green, and brings an extra shine to the very tips of your figure. For this Kitsune, I made sure to bring attention to her expression, and also to highlight the tips of her nine tails. I also used a small amount to add a little sparkle to very tips of the fur detail.

Finished!
Give the figure a coat of Matte Clear Coat to protect the paint, and your Kitsune is ready for the gaming table!


Both printed and painted versions of the Kitsune are available through our Shoppe. We also have a larger version that looks great on display.
Was this article helpful? Become a Patreon or buy me a coffee and I’ll write more!