


Just a few simple paint layers will bring out the finer details of your high-quality 3D resin print. Metallic paints will even make your plastic figure look like it’s made of a more expensive material!
Gather Your Materials
- Paintbrushes: You’ll need at least 2 sizes, including a fine-detailed brush and larger brush. A set like this will have you covered.
- Paints: I like to use Army Painter paints. The colors are bright and bold and the consistency of the paint spreads easily without covering up the fine details of the figure. This kit plus a bottle of dark tone will cover all the colors I’ll be using in this tutorial.
- Primer: I use black primer spray paint to quickly and easily cover all the tiny nooks and crannies of the print.
- Magnifying Headset with Light: You need to see what you’re doing!
- Wet Palette: Helps keep your paints from drying out too fast. The secure snap-on cover can let you re-use your palette days later.
- Water Glass: Paper cups work fine.
- Holder Stand: Helps you twist and turn the figure to see it from every angle, without getting paint on your hands.
- Matte Varnish: Protects your painted figures from fading in the sun or chipping if you bump them.
Coat 1: Primer
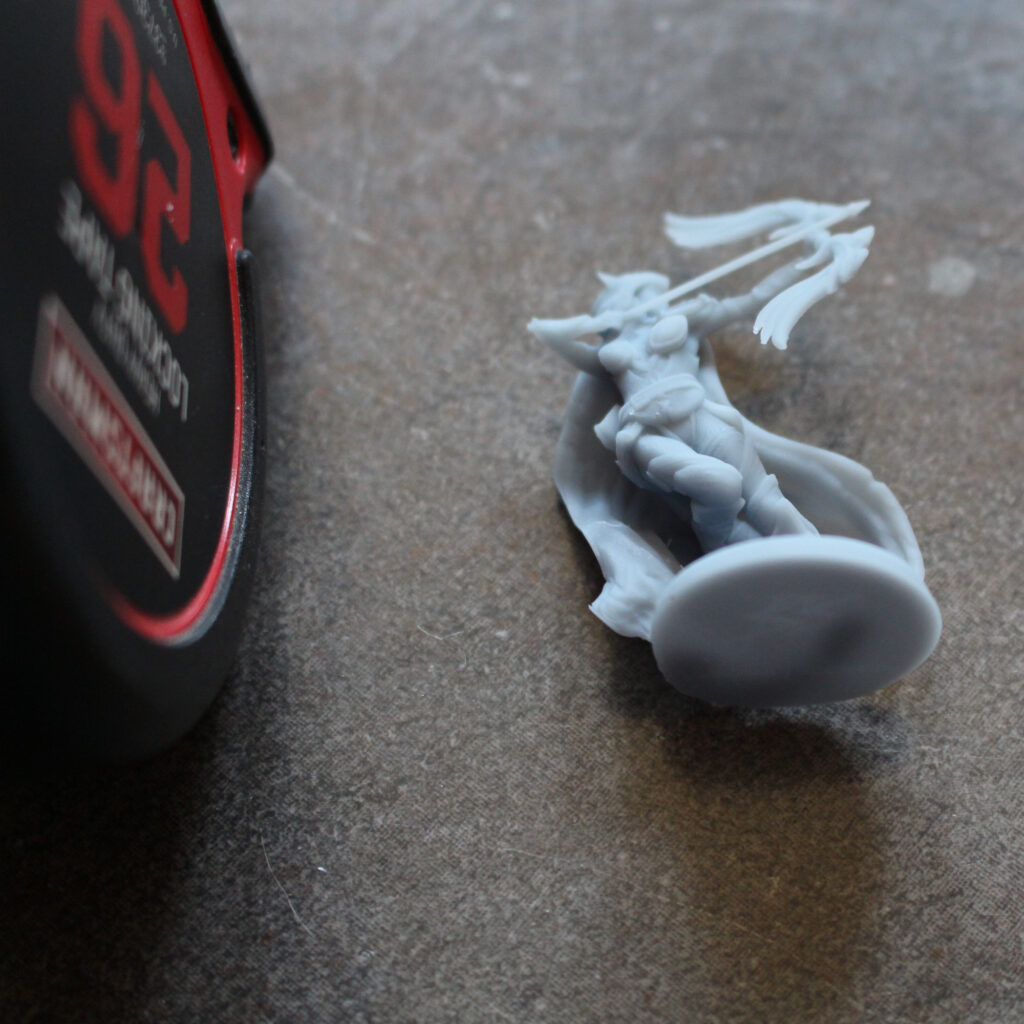
Before you start painting, examine your figure carefully. Sand or clip any rough spots and use use Perfect Plastic Putty to fill in any cracks or divots left behind from support removal.
When you have the figure the way you want it, take it outside (or somewhere well ventilated) and give it a coat of spray-on primer. Be sure to spray the figure from all angles, including from below (you can lay the figure on its side) so that even the armpits, undersides of weapons, and between the legs are covered. It will take 2-3 coats to ensure you fill in every nook and cranny.

Coat 2: Base Coat
Once the primer is dry, bring the figure to your work bench, put on your magnifying headset, and get ready to paint! Using one of your bigger paint brushes, coat the entire figure in your base coat. I use Army Painter’s Gun Metal as the base paint here. After the paint has dried, but before you go on, take a moment to look the figure over carefully. Touch up any spots that you missed on the first go around.

Coat 3: Shadow Coat
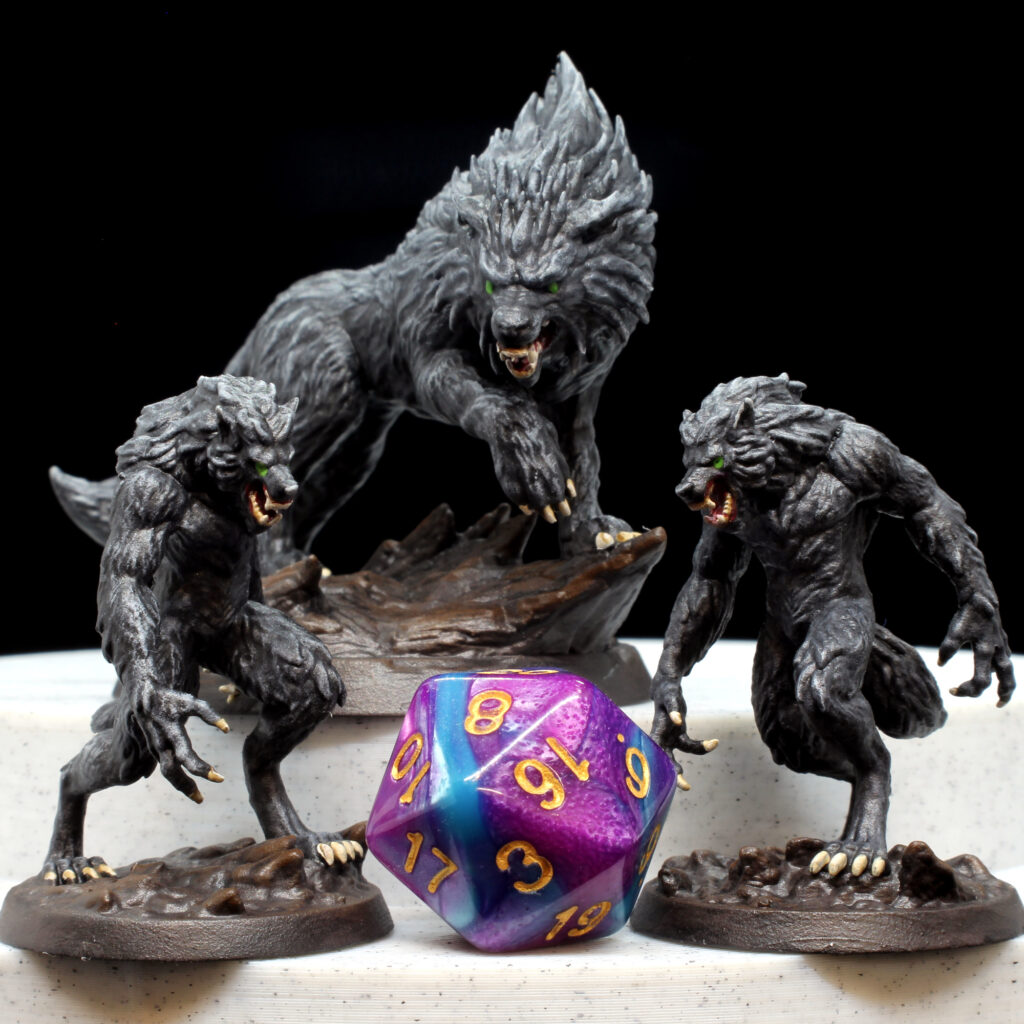
The goal with this coat is to get the dark toner to settle into areas that would normally be shadowed in a life size figure. I’m using Army Painter’s Dark Tone on this werewolf.
Start by really slathering the paint on. Use your large brush and be generous with the paint—you want it to get into all the crevices! Working quickly, before the paint has a chance to dry, go back over the figure. This time your goal is to remove the excess paint: dab your brush on a dry paper towel after every few strokes, smoothing out the paint out as you go. Keep an eye out for reservoirs, or places where the pigment has collected in recesses. While these will tend to be in places where you’ll want the deepest shadows, you don’t want them to look unnaturally large. Dry your paintbrush on your paper towel and then touch the tip to a reservoir. The extra paint will be sucked up, leaving behind a nice shadow effect that brings out the texture in the figure without obscuring it.
Reservoirs tend to collect around the edges of feet, in elbow creases, and at the bottoms of weapons. On this werewolf pay extra attention to the eyes, between the toes, the collarbone, and along the edges of the rocks.

Coat 4: Dry Brush Highlights
Now that you’ve deepened the low areas with your shadow coat, it’s time to bring out the raised areas with some highlights. Your final paint profile should look like this:

For the highlight layer, you’ll want to use a fairly large brush. You want just the raised areas of the figure to pick up paint, so keep the paint on your brush pretty light. Dip your brush into the paint, then make a few passes over your paper towel to remove excess paint. Gently move your paintbrush over the raised areas of the figure. Don’t push the bristles into the figure: remember, you don’t want this color getting into those recessed shadow areas. Moving your brush against the grain will help just the high areas pick up the paint.
To give this werewolf a metallic sparkle, I use Army Painter’s Plate Mail Metal for the highlight layer. I also like to use this color to paint around the edge of the base.

Coat 5: Detail Highlights
The final layer uses a light color to bring attention to the fine details and very edges of the figure. Use a small detail brush and take your time. Paint with the grain when painting details like fur or capes, tracing the very top of the raised areas with your brush. Keep the paint on the brush very light, dabbing excess paint off on the paper towel after your dip into the paint.
For this werewolf, I used Army Painter’s Shining Silver for the final detail highlights, focusing on his teeth and claws, the edges of his fur, and along the corners of the rocks. I also used it to bring attention to his muscles.
Coat 6: Matte Clear Coat
A matte clear coat protects your nice paint job and lets the metallic sparkle of your paints shine through.


The werewolf figure used in this article was designed by 3DsOfSan and is available printed, primered, or painted in our shop.
Was this article helpful? Become a Patreon or buy me a coffee and I’ll write more!
Clicking on the Amazon Associate links in this article helps me pay the bills–and write more articles!