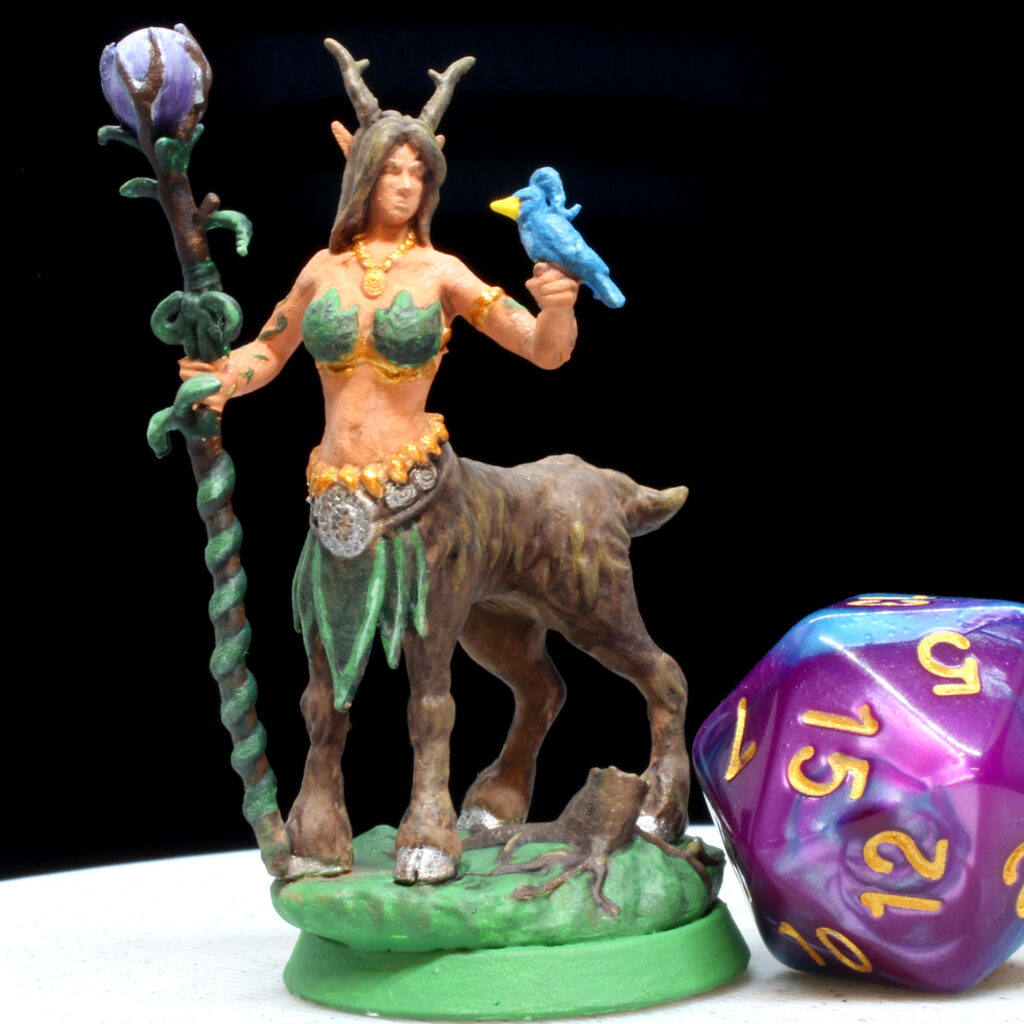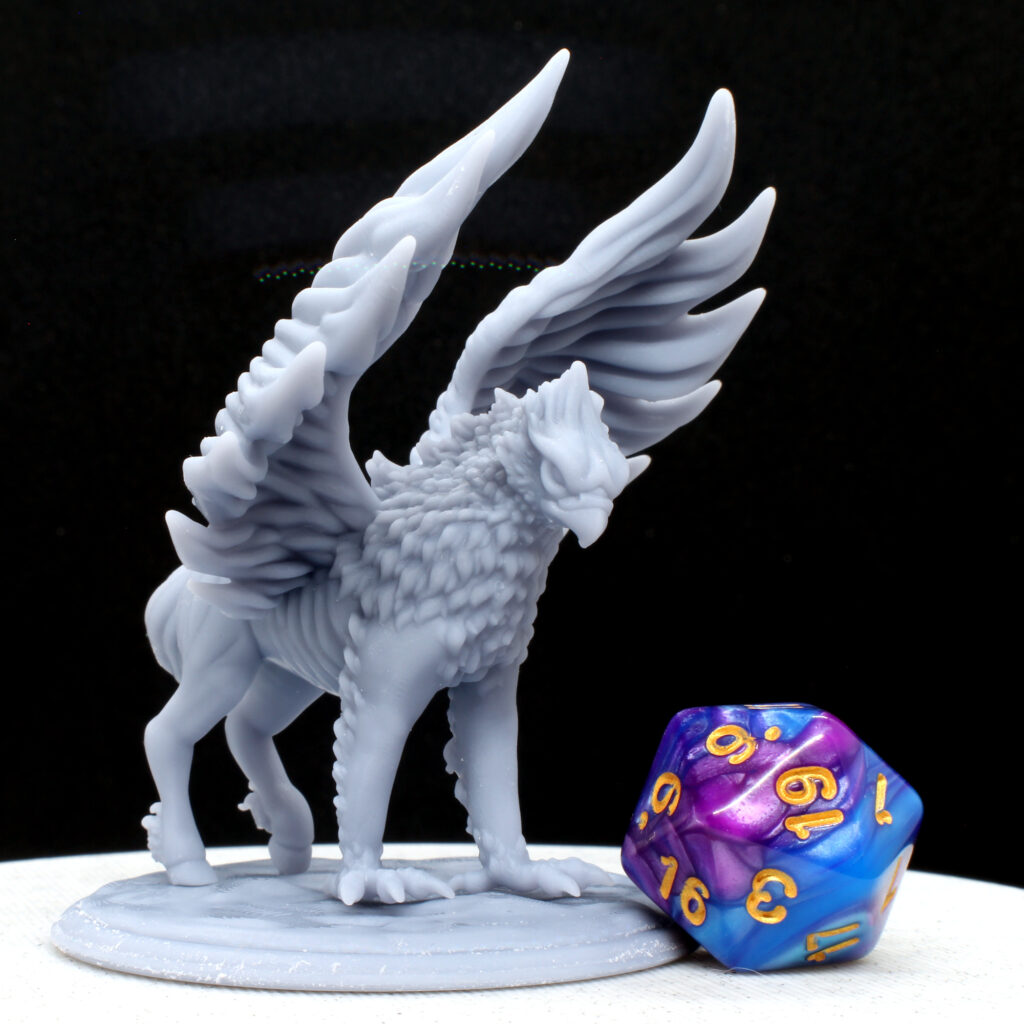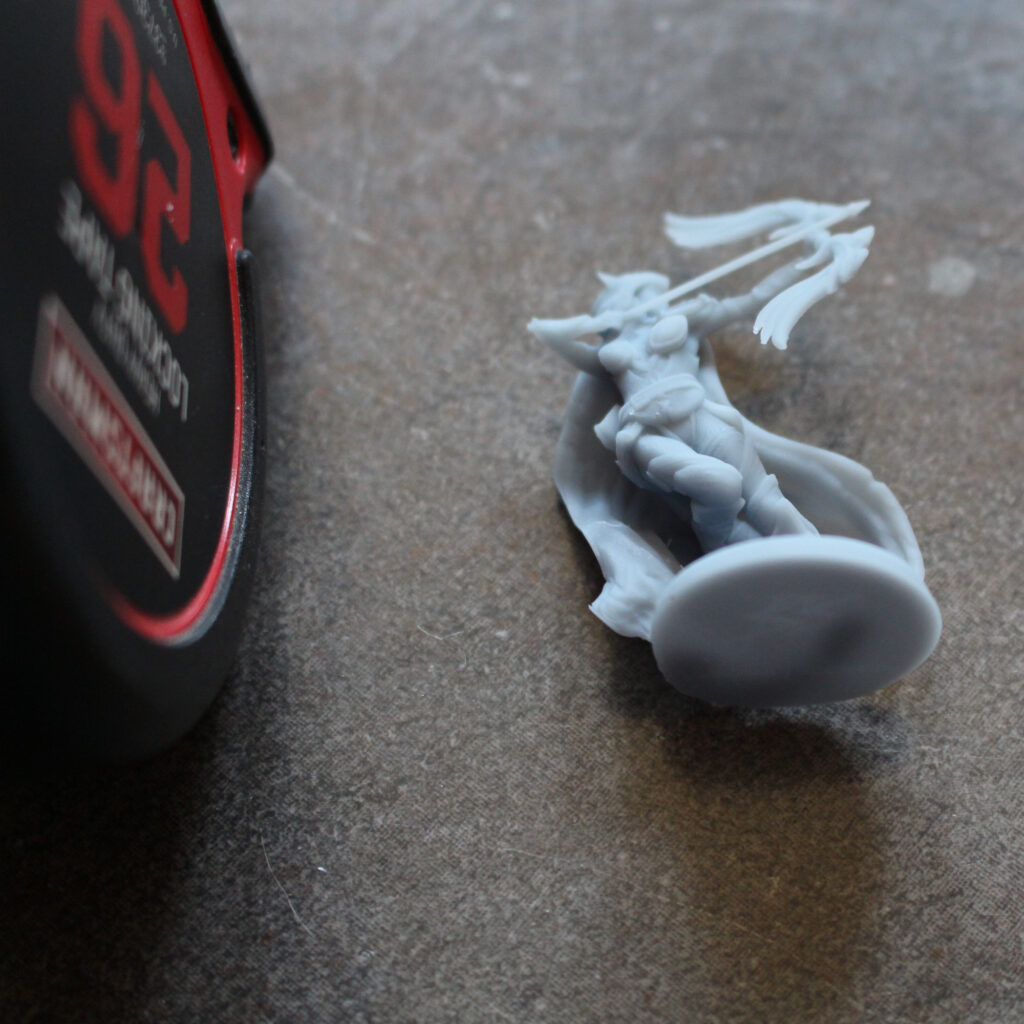


Using a simple layering technique is easy to do and can make it look like your 3D-printed plastic miniature was made from a more expensive material. Layering also brings out the texture and details of your miniature. To demonstrate this technique, I’ll be painting LaLouve3D‘s Oni figure. The PonyCorn at the top of this article looks great in gold too!
Clicking on the Amazon Associate links in this article helps me pay the bills–and write more articles!
Gather Your Materials
- Paintbrushes: You’ll need at least 2 sizes, including a fine-detailed brush and larger brush. A dry brush would be helpful too. A set like this will have you covered.
- Paints: I like to use Army Painter paints. The colors are bright and bold and the consistency of the paint spreads easily without covering up the fine details of the figure. A starter set of paints, like this one, or this metallic set, has most of the paints I use in this tutorial. This larger set includes everything that I use here. I’ll also link to the individual paint colors as I use them.
- Primer: I use black primer spray paint to quickly and easily cover all the tiny nooks and crannies of the print.
- Magnifying Headset with Light: You need to see what you’re doing!
- Wet Palette: Helps keep your paints from drying out too fast. The cover lets you re-use your paints days later.
- Water Glass: Paper cups work fine.
- Painting Handle: Helps you twist and turn the figure to see it from every angle, without getting paint on your hands.
Step 1: Primer
After you’ve examined your figure and done any sanding or prep work that you want to do, give it a couple light coats of white primer. If you have us primer the figure for you, you can skip this step.

Step 2: Base Coat
You’ll want a bright, shiny gold color for your base coat. I use Army Painter’s Greedy Gold and coat the entire figure. Take the time to go over the figure and make sure you didn’t miss any spots and then let the paint dry before going on to the next step.

Step 3: Shadow Wash
In order to bring out the deeper recesses of the figure, I give it a coat of Dark Tone (any dark or Black ink wash will do). This is the first step into using different layers to focus on the texture of the sculpture in order to bring out the details. Let the wash sink into the creases and crevices of the figure, using your paintbrush to soak up the extra paint. The goal is to make the deeper areas stand out with the ink, while not making the shadow areas so heavy that they obscure the figure.

Step 4: Dry Brush
Now that the shadows are taken care of, let’s take care of the highlights! Give the figure another coat of Greedy Gold, but this time use your Dry Brush and try to just hit the raised areas of the figure. You want to keep the paint on the brush very light. Use the texture on your paper towel as a guide: when only the raised design on the towel picks up the paint from the brush when you wipe it across, then you’ve got the right amount of paint on the brush.

Step 5: Details
You’re almost finished! Time to bring out the very edges and small details of the figure. Bright Gold draws attention to details that you want to stand out, like the Oni’s horns, eyes, and the spikes on his club.

Finished!
Give the figure a coat of Matte Clear Coat to protect the paint, and your golden Oni is ready to show off!


Both printed and painted versions of the Oni and Ponycorn are available through our Shoppe.
Was this article helpful? Become a Patreon or buy me a coffee and I’ll write more!