


3D printing has been commercially available since the late 1980s. Only in recent years has this fantastic craft found its way into the hobby and tabletop gaming world.
A brief history of 3D Printing
The first consumer priced 3D printers were filament based and melted plastic to a base in layers. These machines are perfect for large prints as the price of the equipment is very reasonable. The issue with these machines is the quality of the printed object. When you are looking for detail, a filament (FDM or Fused Deposition Modeling) printer leaves something to be desired.
Resin printers, on the other hand, offer detail that filament printers cannot. The primary trade-offs of a resin printer have been higher cost, smaller build area and complexity in printing. This is why out-sourcing prints has lately become a very popular avenue for those who want custom printed objects but do not want the expense and trouble of doing it themselves.
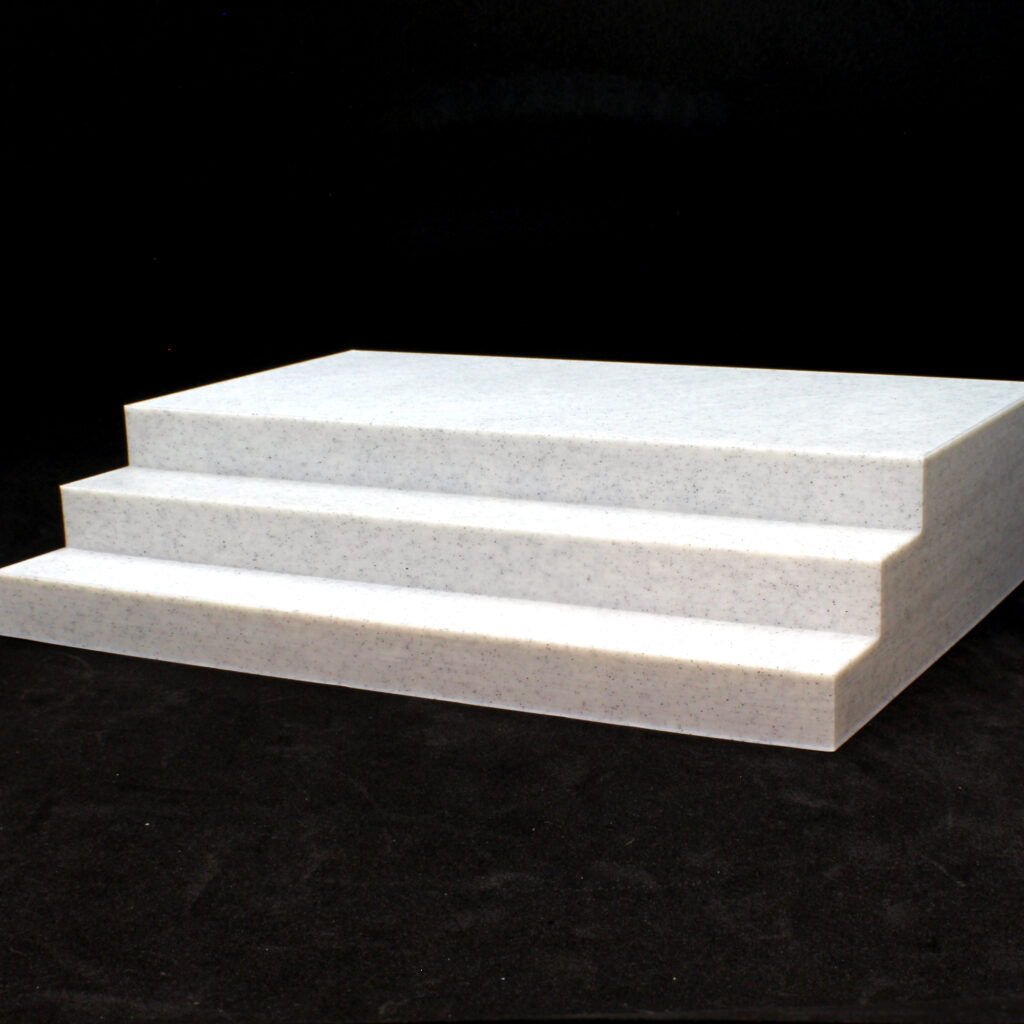
At Simon’s Magic Shoppe, we use only resin (SLA or Stereolithography) printing because of the quality and detail.
Start with a Model
The printing process starts with the model. This is typically an .STL file which is highly portable and contains nearly everything needed to give to the printer. The .STL file will be loaded into what is called a “slicer”. A slicer is a program used to bridge the model file with the actual physical printer.

In the slicer, we will scale and orient the model to the customer’s specifications and for optimal printing. Supports are then added to make sure parts of the model do not droop or sag.
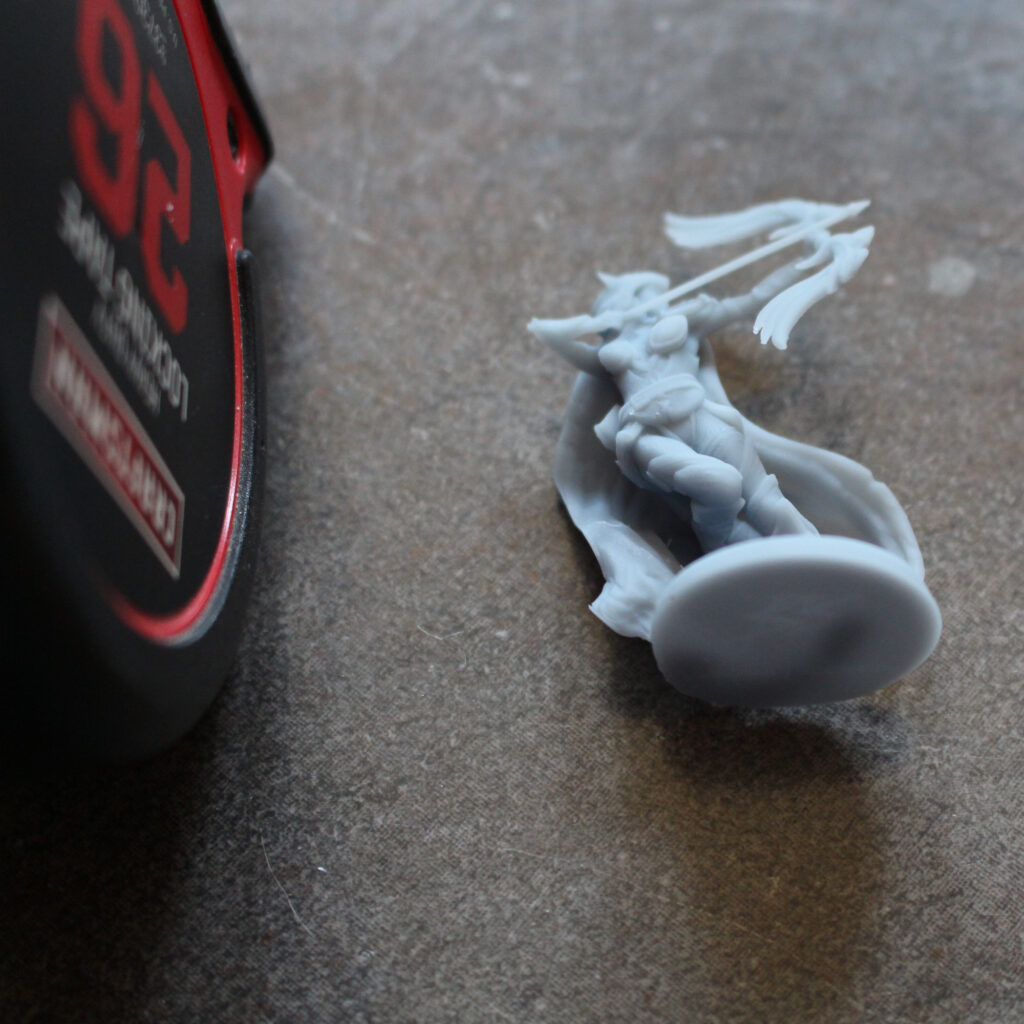
Some parts of the model will need supports because they can become islands while printing. These areas are especially tricky because they have nothing attached to them during early phases of the print and will simply float away if not supported.

Off to the Printer!
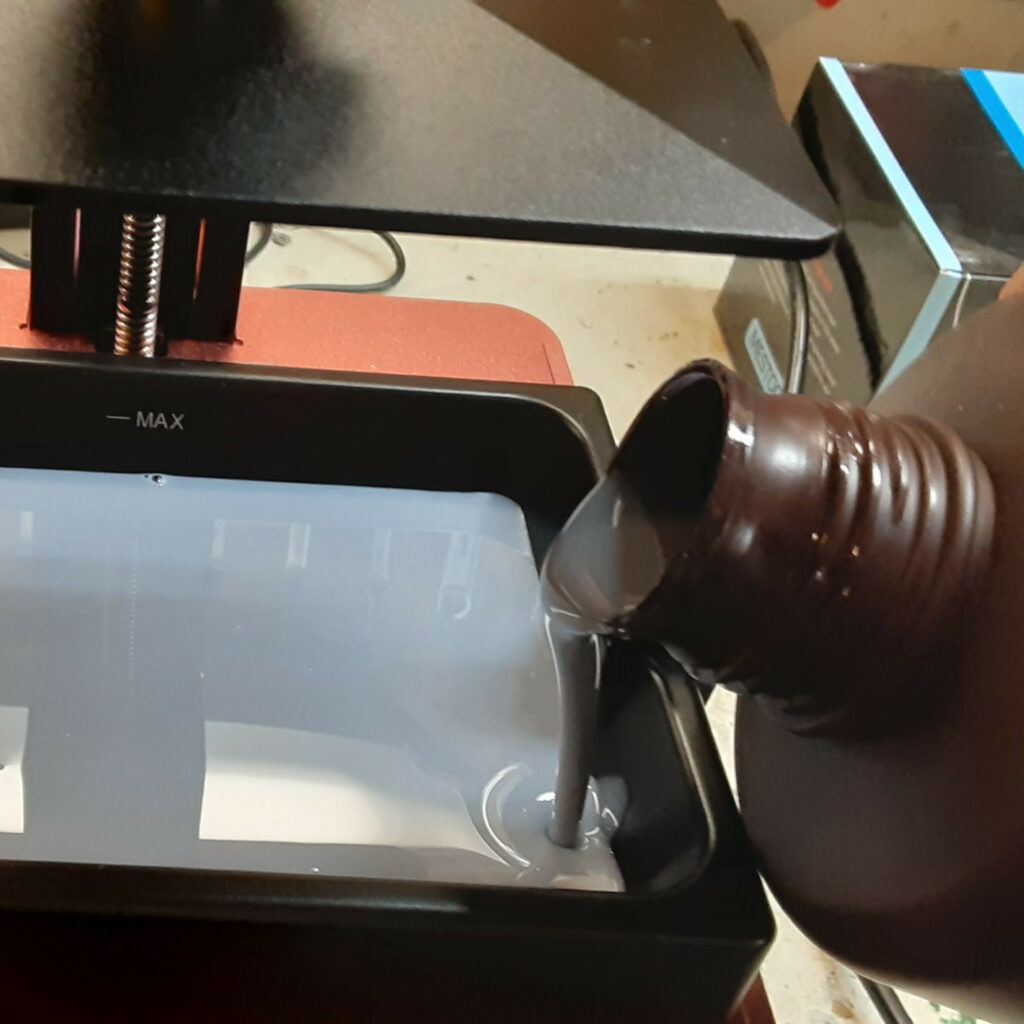
Once the supporting, scaling and orientation of the model is complete, it is sent to the printer. This is where a build plate will submerge into a vat of resin while UV light shines through from a screen in the pattern of the layer that is being printed. The first 10-15 layers are typically cured longer so the model will stick to the build plate and not detach during the entire print.
A typical miniature will take 3-4 hours to print. Larger oversized prints will sometimes take 8-12 hours depending on the detail. This is why the initial layers having a long cure time is critical. With the build plate constantly “pulling” the cured resin off of the bottom of the vat, it is easy for beginners to become frustrated with objects detaching half way through the print.
After the print has finished, the objects are left to drip upside-down into the vat for many hours. The build plate is then taken to an area where the printed objects can be forcibly removed. Sometimes they pop right off. More typically these are pried off with special scrapers.
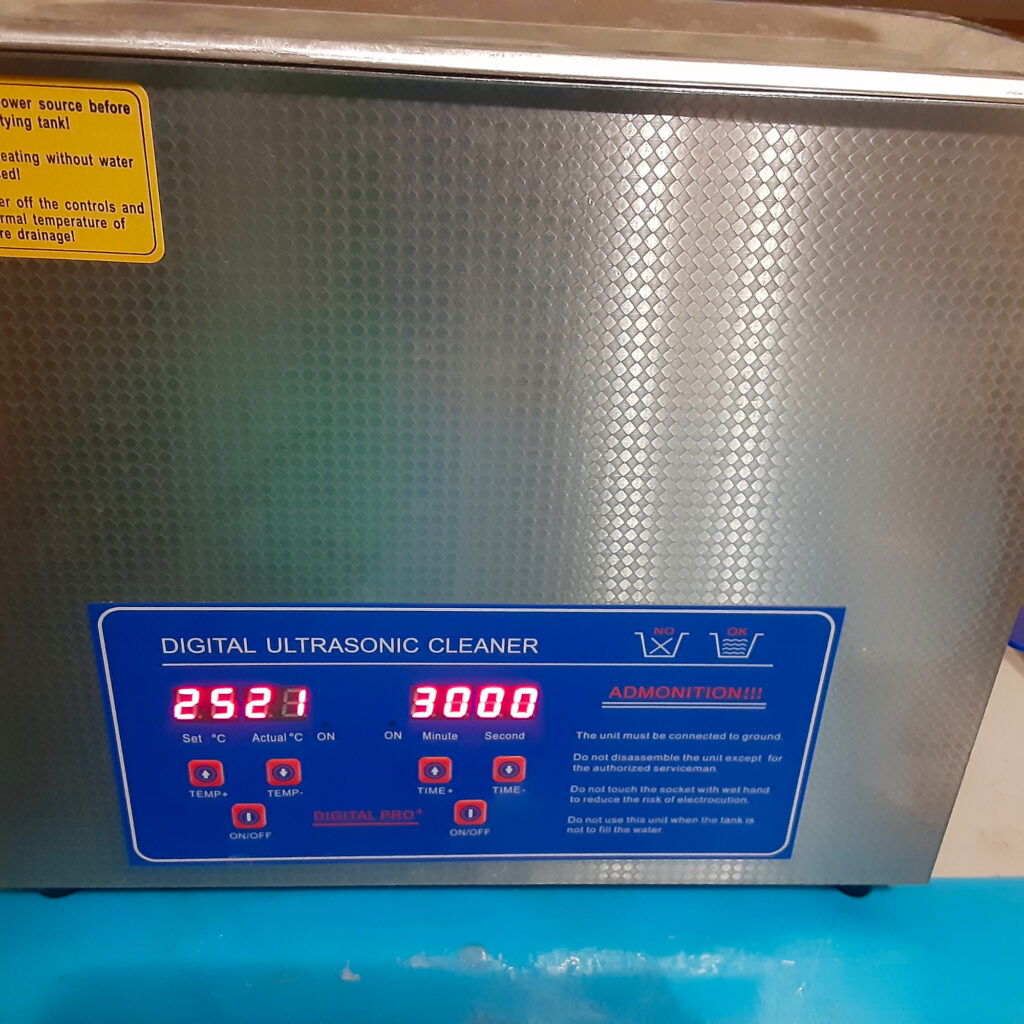
Cleaning the Print
From there, the still-resin-coated objects are dunked into 96% ethanol and/or a ultrasonic cleaner. A quick water rinse is used to remove the ethanol and then it is ready for support removal and final clean-up.

Cure the Print
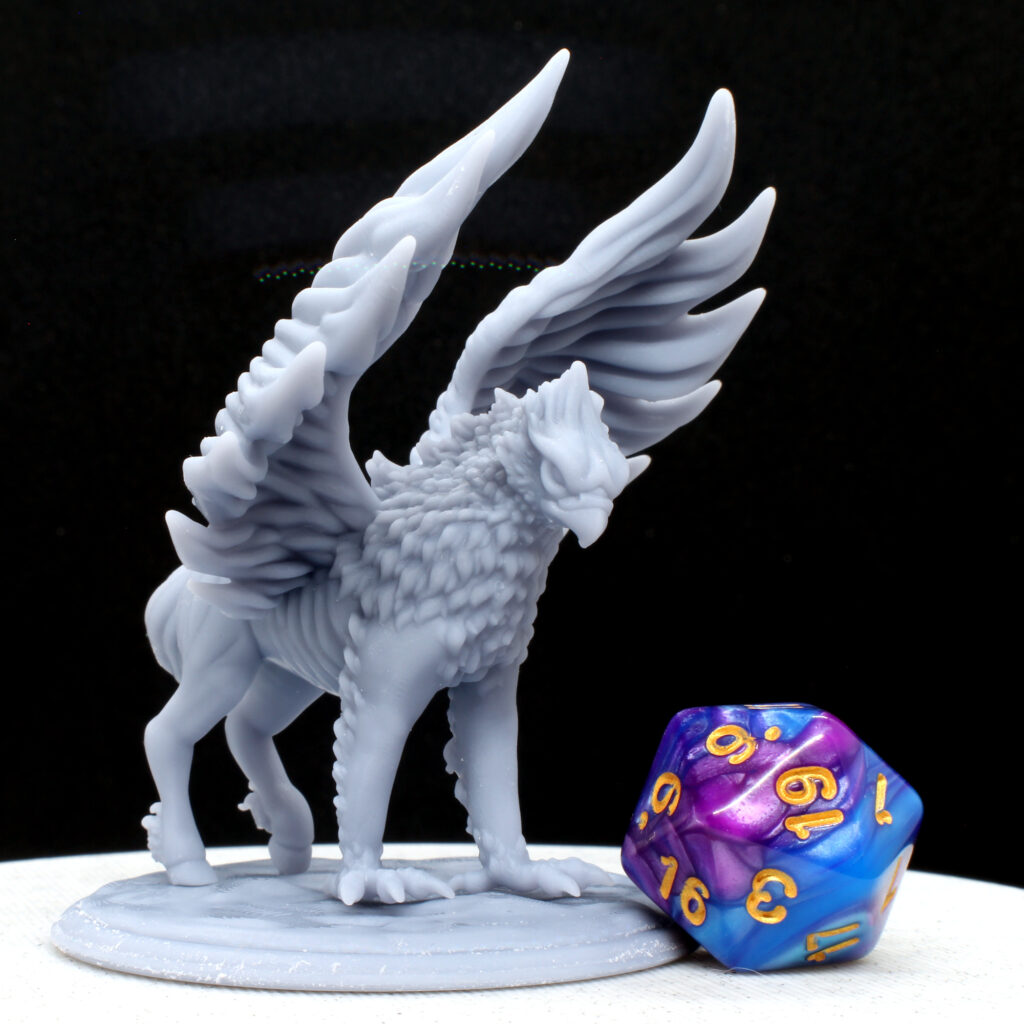
The last step in the process is the final cure. This is where the printed objects are placed into a special UV chamber where they are left to “bake” in bright UV light for a certain time depending on their size. Small objects may only take a few minutes whereas larger objects can take 20-30 minutes or more. Always make sure that objects are fully cured before priming and painting.

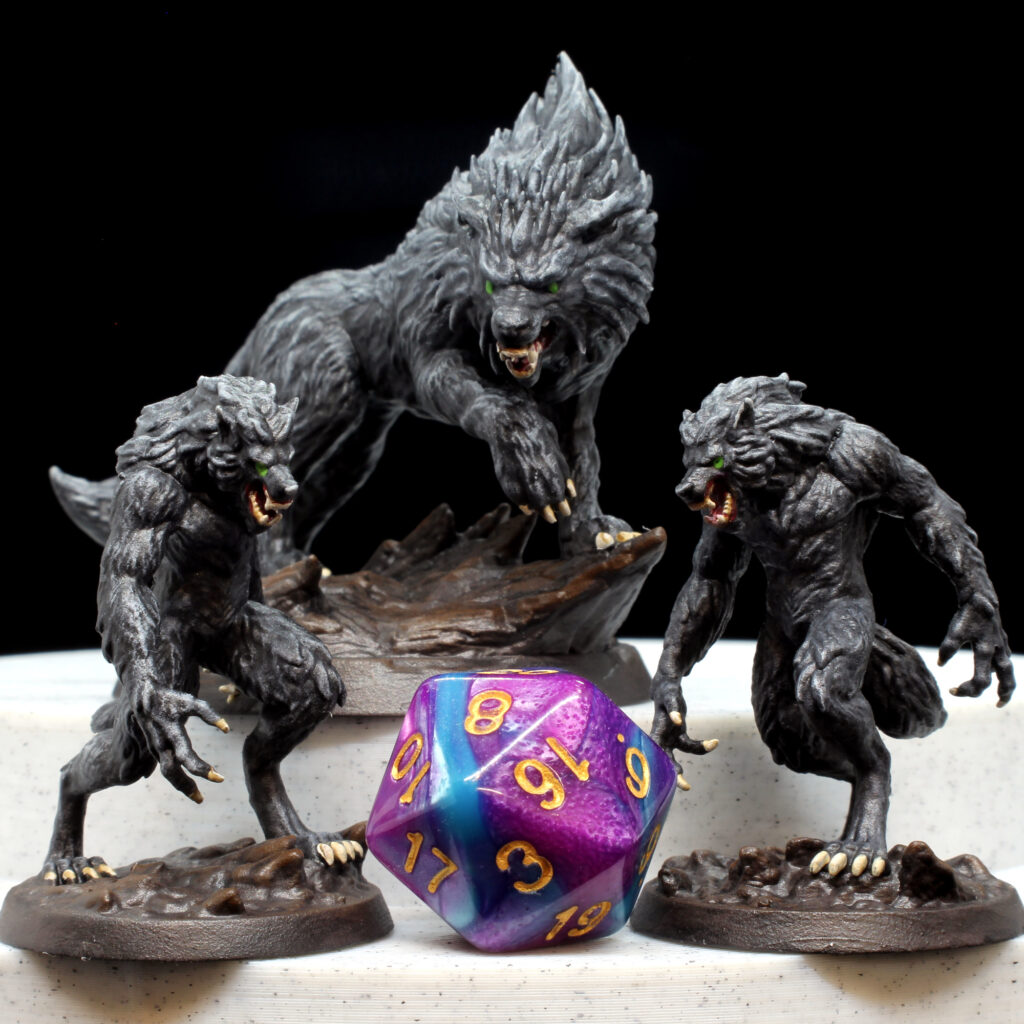
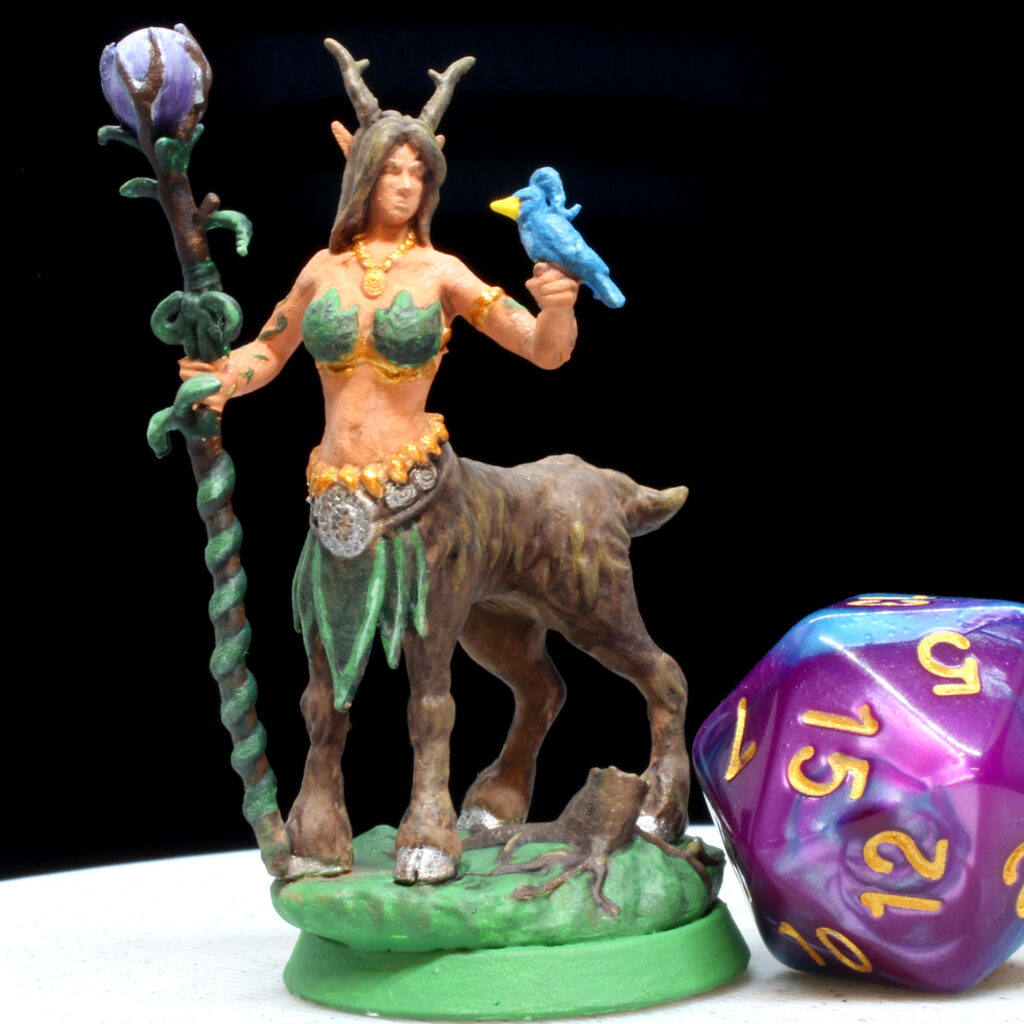
What to do with the object at this point is now up to you. Prime, paint or just leave it the color of the resin you have selected.
Finished!
I think it helps to know how much work goes into every single miniature. There is a lot of care and attention required with each print. However, like most hobbies, the end result is well worth the time and effort.

Was this article helpful? Consider supporting us on Patreon and we’ll write more!