


Making your own cheese is a rewarding hobby that doesn’t require too much investment to get involved in. Our 3D-Printed Combination Cheese Mold / Press replaces both a Cheese Mold and a bulky Cheese Press with a easy-to-use device that takes up just a small amount of cupboard space and produces excellent home-made cheeses. It’s easy to use, and there are a wide variety of cheeses that can be made at home with some simple, inexpensive ingredients. In this post, I go over how to make a simple cheddar cheese using our Combination Cheese Mold / Press. Follow along to transform 2 gallons of grocery store milk into a 2 pound cheddar cheese!
Part 1 covers the ingredients and equipment you’ll need to make a cheddar cheese, and goes over how to set your cheese and separate the curds from the whey.
Part 2 goes over how to use our 3D-Printed Combination Cheese Mold / Press to compress your curds into a finished cheese.
Ingredients and Equipment
Clicking on the Amazon Associate links in this article helps me pay the bills–and write more articles!
This recipe is for making a 2 pound cheese, the size that our Combination Cheese Mold / Press is designed for.
- 2 Gallons of Whole Milk
- Annato Cheese Coloring (optional)
- Distilled Water
- Calcium Chloride
- C-101 Mesophilic Culture
- Rennet
- Kosher Salt (or other non-iodized salt)

In addition to our Cheese Press, you will also need:
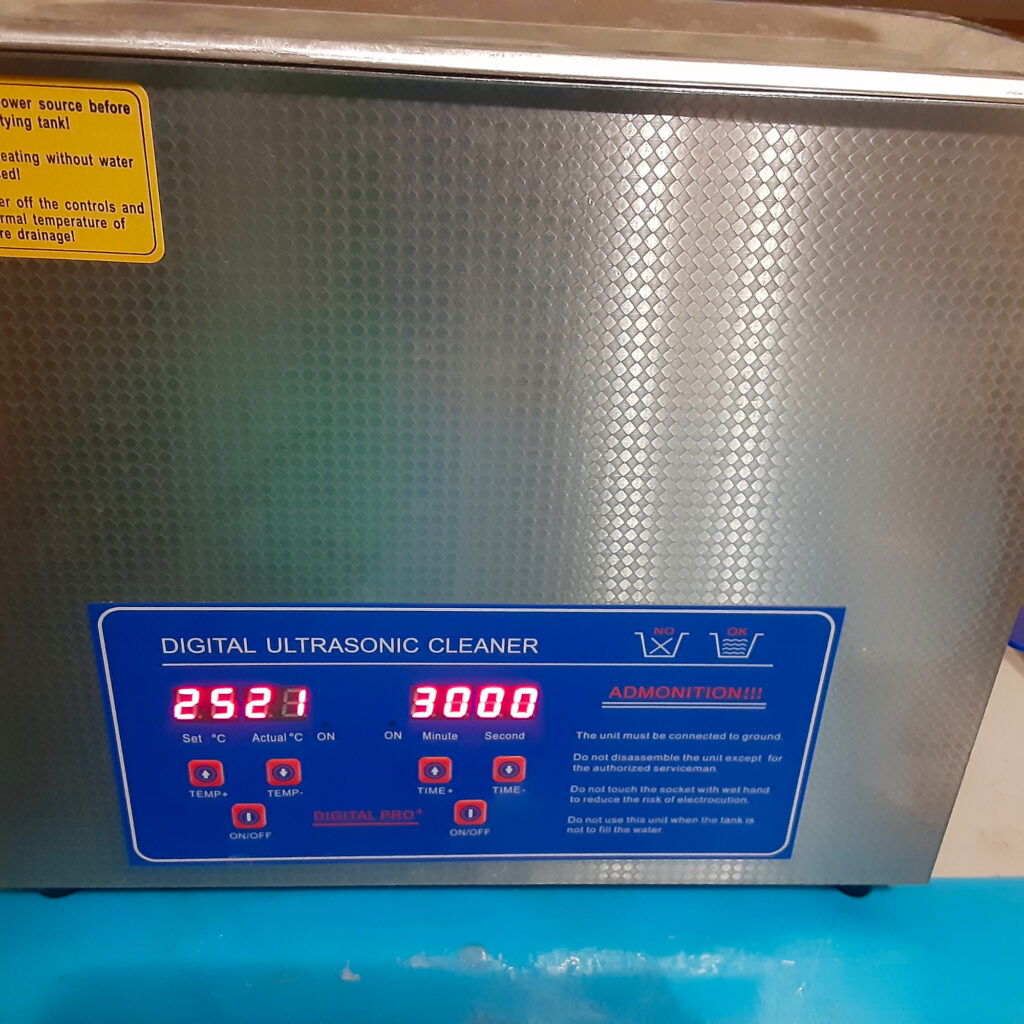
- Something to sanitize your equipment with, like Star San. While you can use the dishwasher to sterilize some of your equipment, DO NOT use that method for your cheese mold.
- A pot large enough to hold 2 gallons of milk
- A way to warm the milk. A sink filled with warm water that’s big enough to hold your pot will do. We use a griddle mat that evens out the heat from our pancake griddle. You can also get fancy and use a sous vide set-up.
- A cheese laddle
- A kitchen thermometer, such as a candy thermometer or an instant-read thermometer
- Cheese Cloth, at least 2
- A large collander
- A set of teaspoons
- Measuring cups
- A large spatula or curd cutter.
- A whisk
- A sushi mat to dry the cheese on (optional)
- Cheese Wax or a Vacuum Sealer
That’s it! You probably have most of those things in your kitchen already. Make sure all your equipment and your work area is clean. Time to start making some cheese!
Step 1: Warm the Milk
Start by pouring both gallons of milk into your pot. Heat the milk up to 86F (30C).

Step 2: Acidify the Milk
It’s important to add the ingredients in order for this step. First, add your coloring if you’d like a traditional yellow cheddar. Stir 1 tsp of the coloring into 1/4 cup of distilled water. Pour this mixture slowly over your cheese ladle as you move it over your milk, then use an up-and-down stirring motion to stir the coloring into the milk. Take a minute or two to make sure the coloring is evenly mixed throughout the milk. Don’t worry if the yellow color is very faint; it will darken into a rich yellow as the cheese takes form.
Next add 4 mL (1 tsp) of Calcium Chloride to your milk. If you’re lucky enough to be using farm-fresh milk you can skip this, but anyone using pasteurized milk from the grocery store will need to do this. Spend another couple minutes stirring to make sure it’s evenly distributed.
Finally, add 1/2 of a packet of C-101 culture to your milk. You can split the packet by emptying it out onto a piece of foil and using a butter knife to separate the powder into 2 separate piles. Sprinkle one half over your milk and fold the foil around the other half, saving it for future cheeses. Let the powder sit on top of the milk for 2 minutes to re-hydrate, then stir it into the milk using an up-and-down motion. Once you’re satisfied that the powder is thoroughly mixed in, put the lid on your pot and let it sit. You want to keep it at 86F (30C) for 45 minutes. Use your thermometer and refresh the hot water in the sink, or adjust the power level on your heat source if necessary.

Step 3: Form the Curds
Time to start separating the curds from the whey! Mix 1/2 tsp Rennet into 1/4 cup distilled water. Slowly pour this over your cheese ladle, moving it as you do so. Stir your cheese for a couple minutes to make sure the rennet is distributed evenly. Put the top on the pot and keep it at 86F for another 45 minutes to 1 hour. Make sure not to disturb the pot while the curds are setting! Taking temperature readings is OK, but don’t stir the curds until they are set.
Step 4: Cut the Curds
When you can dip the end of the thermometer in the curds and they separate cleanly and don’t cling to the thermometer, they are ready to cut. You’ll want to cut them into 1/2 inch cubes. Make sure to do 3 cuts: once across the curd mass, once at 90 degrees to the first cut, and a third horizontal (or diagonal, if you’re using a knife) cut. Let the curds recover for 5 minutes before you disturb them again.

Step 5: Cook the Curds
Slowly warm the curds up to 102F (39C) over 30 minutes, raising the temperature a couple degrees every 5 minutes. Give the curds a stir every 5 minutes too, very gently at first but building up to moving them all and make sure none are re-knitting together to form curd masses. Once the curds reach 102F (39C), keep them there for another 30 minutes, stirring every 5 minutes or so. Keep getting more bold with your stirring, building up to using a whisk at the end.

Step 6: Initial Draining
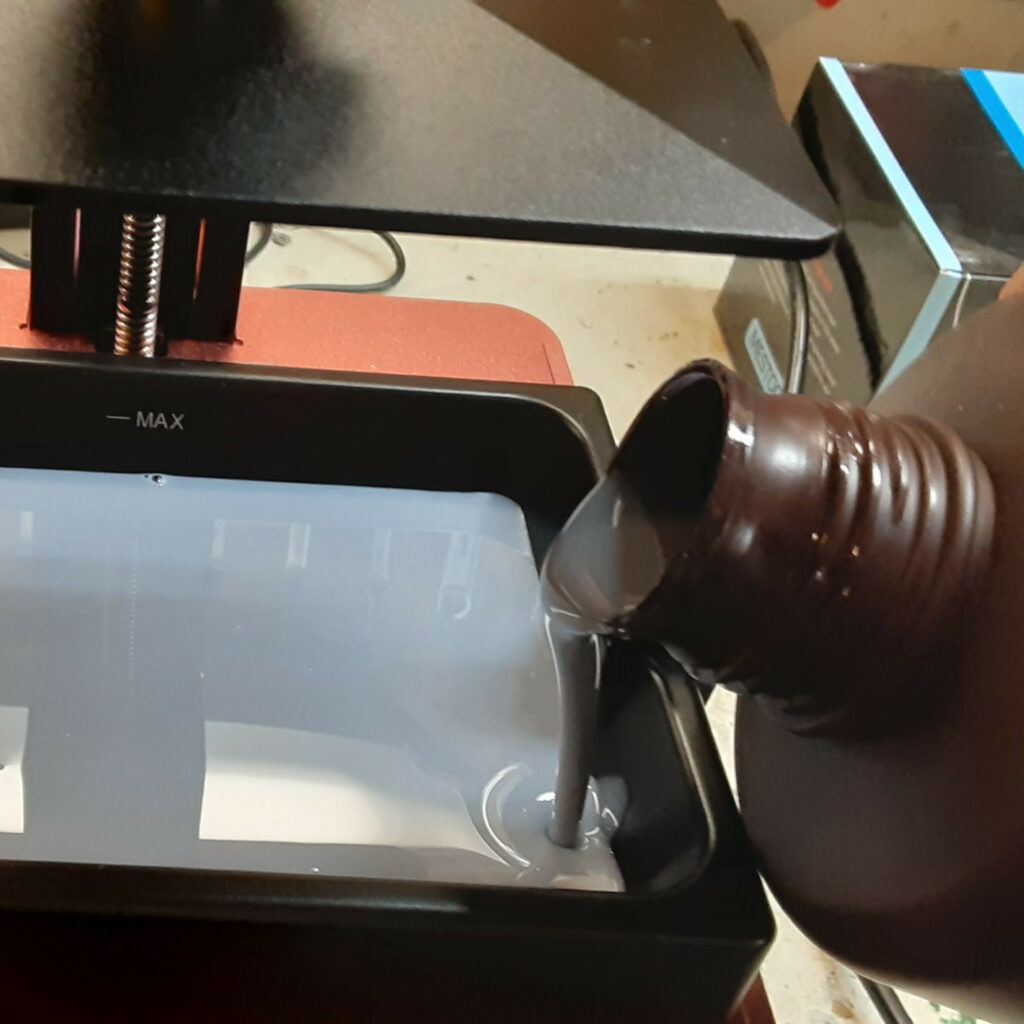
Line your colander with one of the cheese cloths. Pour the curds through the cloth, separating the curds and whey. I recommend using a measuring cup to scoop the curds and whey into the colander (just pouring them all through at once tends to splatter and be messy). You can let the whey go down the drain, but it has a lot of uses so you might want to catch it in another pot instead. Let the curds sit in the colander and drain for 5 minutes, then return them to your warming pot.

Step 7: Salting and Cheddaring
Add 2 Tbsp (30 mL) of Kosher Salt to the curds and stir it in, breaking up any mats that have formed. Keep the cheese mass around 100F (38C) for an hour, stirring it every 5 minutes or so to keep the curds from clumping up.


Step 8: Final Draining
Drain the curds through your colander again. If you’re collecting the whey for another use, be aware that this step will add salt to your collected whey which will make it unusable for some things.

The curds are ready to put into the cheese mold and pressed! Check out Part 2 where I go over how to use our 3D-Printed Combination Cheese Mold / Press to finish making your cheddar cheese!
Was this article helpful? Become a Patreon or buy me a coffee and I’ll write more!