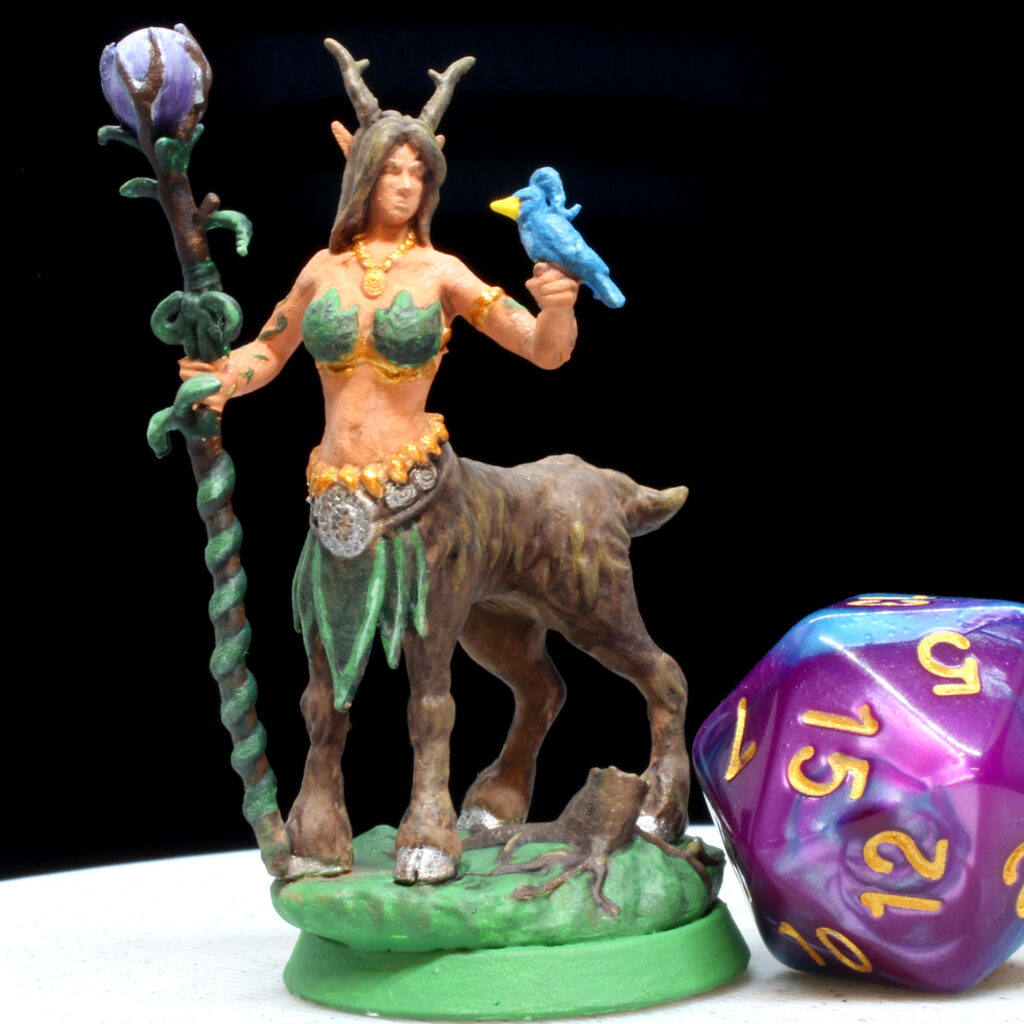


Step-by-step instructions on painting a 3D resin printed Centaur Dryad. This figure was designed by My 3D Print Forge, and printed, primered, and painted versions are available in our Shop. Here, I go over the colors I use to achieve the look in the photos. I encourage you to consider this a guide and starting spot: experiment with other color combinations and let your imagination loose!
First, gather your painting supplies. I go over some of the basic supplies you’ll need in one of my other posts.
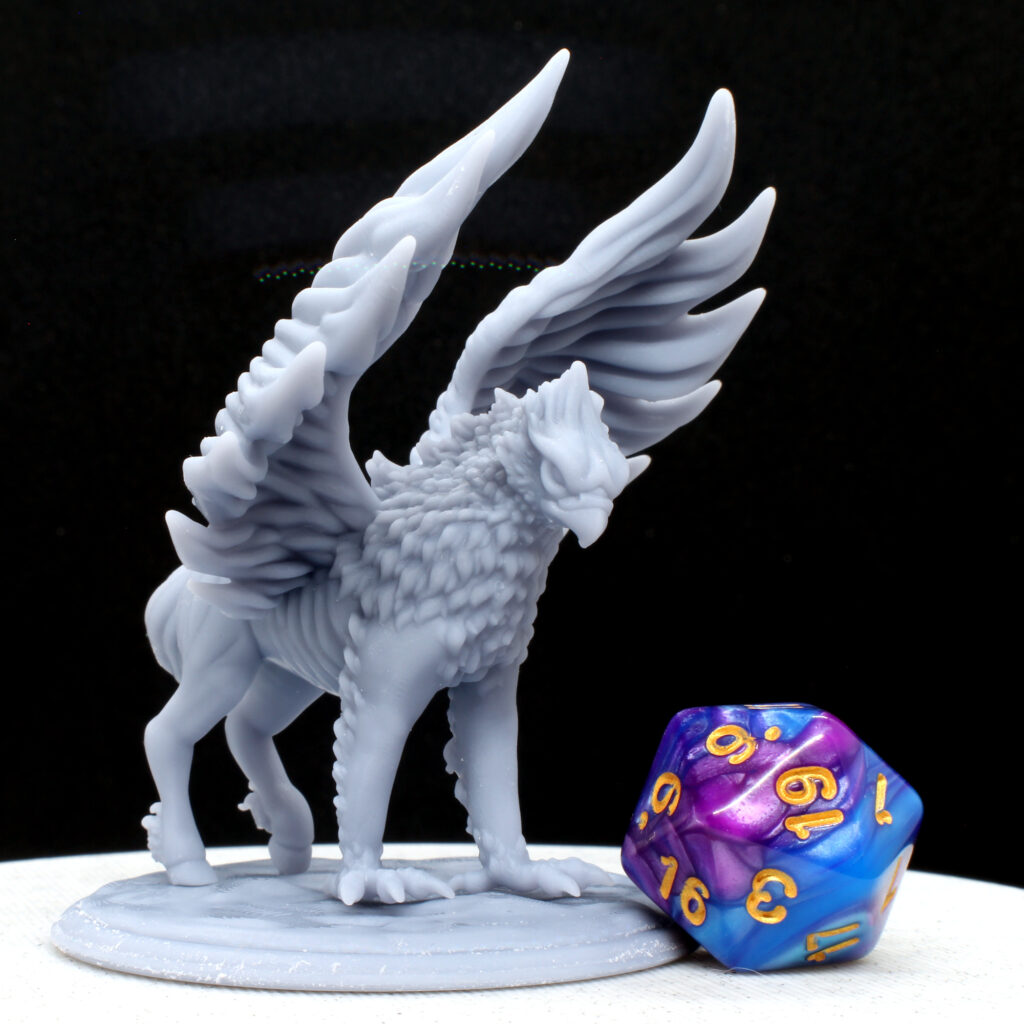
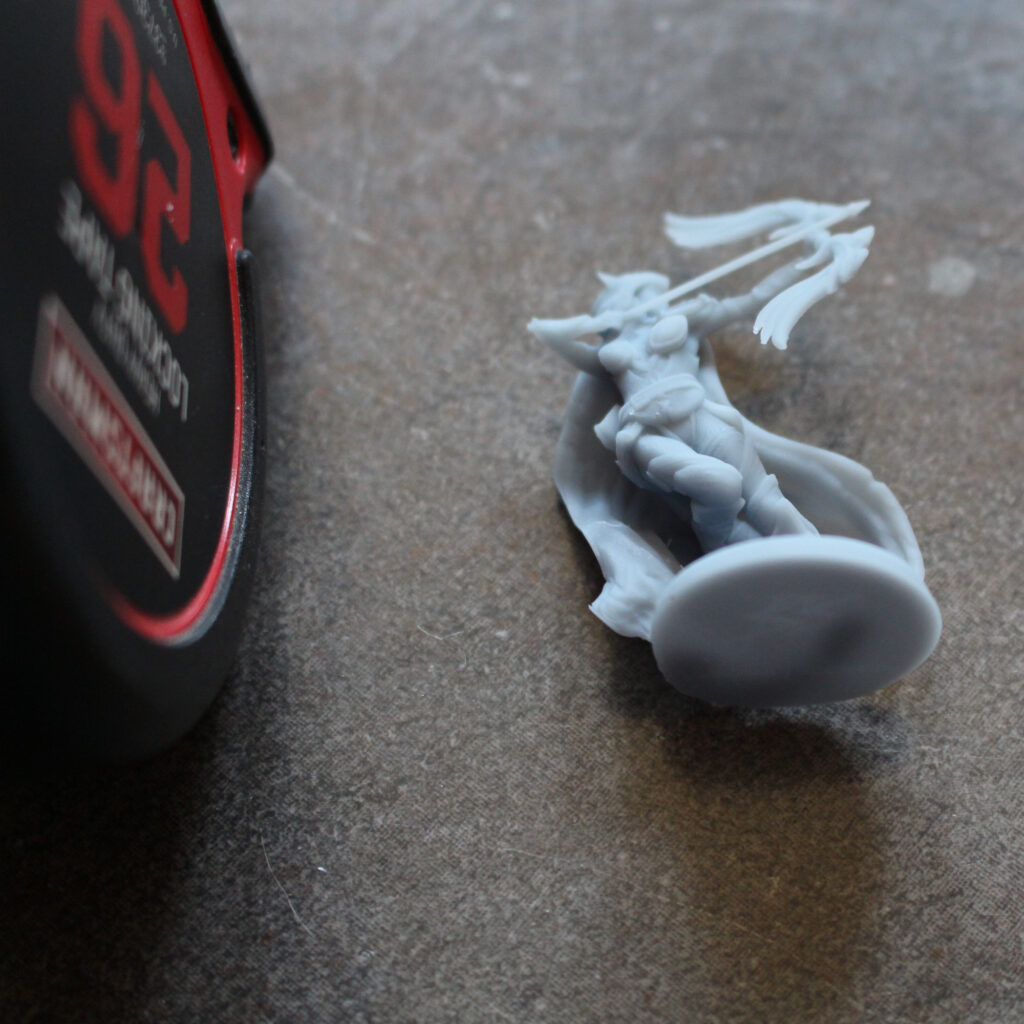
Step 1: White Primer
I like this primer. A white first layer will help keep the colors bright and vibrant.

Step 2: Color Blocking
Time to start painting! Using a medium-point brush, paint in the larger areas. The goal here is to establish what colors go where. Each color area will need 3-4 coats to get a nice, even look. Remember, a couple of light coats are better than one thick coat! Thinner coats will preserve the texture of the sculpture.
Starting with the large areas on the Centaur, I use Army Painter Barbarian Flesh for the skin areas, Leather Brown for the fur and hair, Goblin Green (or Treant Green) for the grass, Oak Brown for the bark, belt, staff and antlers, and Angel Green for the leaves. Let the paint dry when changing colors, or work on areas that aren’t adjacent to each other to prevent the different colors from blending together.
Moving on to the small areas, I use Shining Silver for the hooves and belt, and Greedy Gold for the jewelry and clothing detail.
The orb on the staff is a special section. I start with Alien Purple at the bottom and end with Matt White at the top, blending the two together in the middle. Then I give the whole orb a single, light coat of Shining Silver to give it a magical air.


Step 3: Shadow Coat
Keep the shadow layers light on this figure. You want some pigment to sink into the low areas to help exaggerate the texture, but this is a light and ethereal piece and you don’t want dark colors to overwhelm it. I use Flesh Wash on the skin areas and Dark Tone for the other areas.


Step 4: Dry Brush
The fur and hair areas will benefit from a light dry brushing. I use Desert Yellow to give these areas some highlights and to bring out the raised areas on the sculpture.

Step 5: Trim
Time to get out your fine detail brush! Goblin (or Treant) green along the edges of the clothes make them stand out. Give the metallic areas–the clothes, jewelry, and hooves–some attention too, to make sure they really sparkle.
Don’t forget the little bird friend! Crystal Blue and Daemonic Yellow are bright, cheerful colors.


Step 6: Clear Coat.
I use this matte clear coat to seal and protect the paint. Let it dry, and your centaur will be ready for your next gaming session!

Was this article helpful? Become a Patreon or buy me a coffee and I’ll write more!
Clicking on the Amazon Associate links in this article helps me pay the bills–and write more articles!