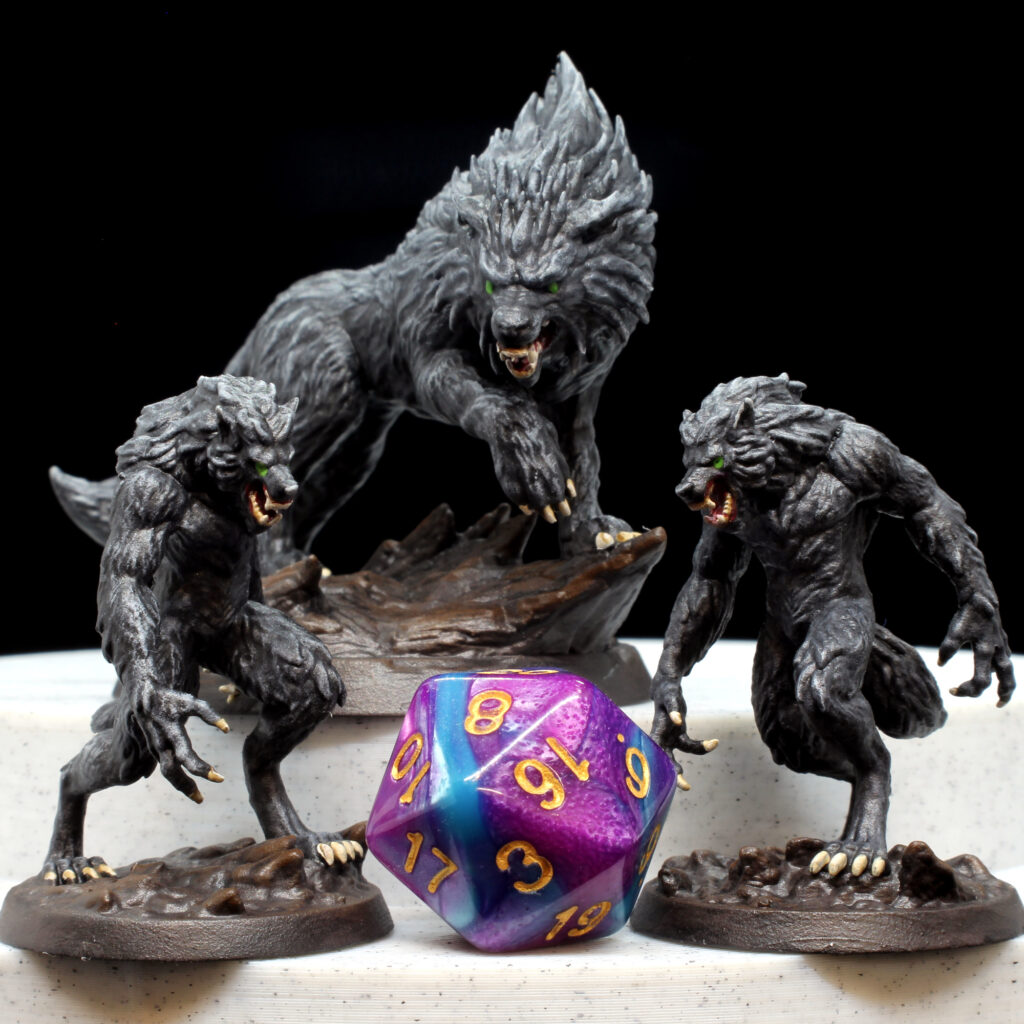


Using a few easy-to-learn techniques, you can have your werewolf or dire wolf miniature looking fierce in no time! I’m specifically going over the Werewolf in this article, but the same colors and techniques work for the dire wolf too.
The wolves in this article were designed by 3DsOfSan. You can pick up the bare printed figures, pre-primered, or even fully painted, in our Shop (Werewolf, Dire wolf).
Clicking on the Amazon Associate links in this article helps me pay the bills–and write more articles!
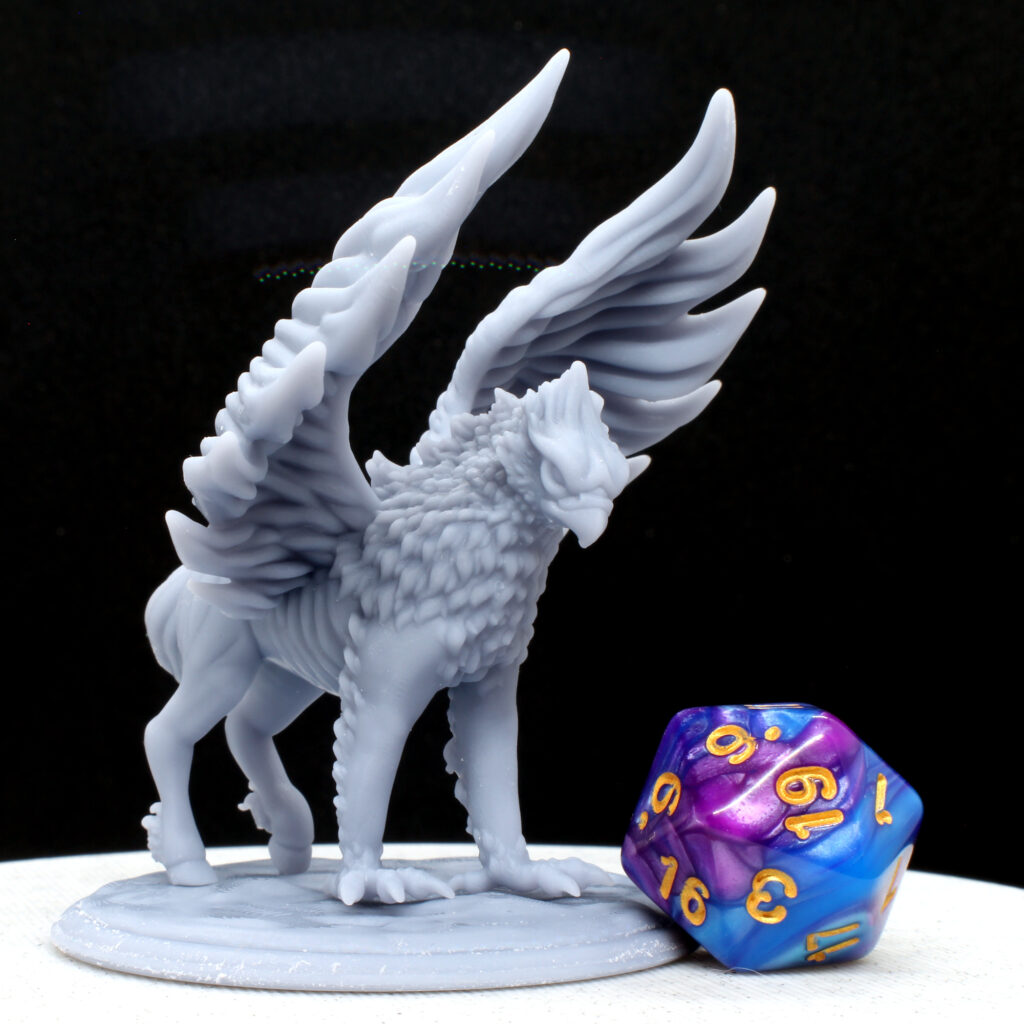
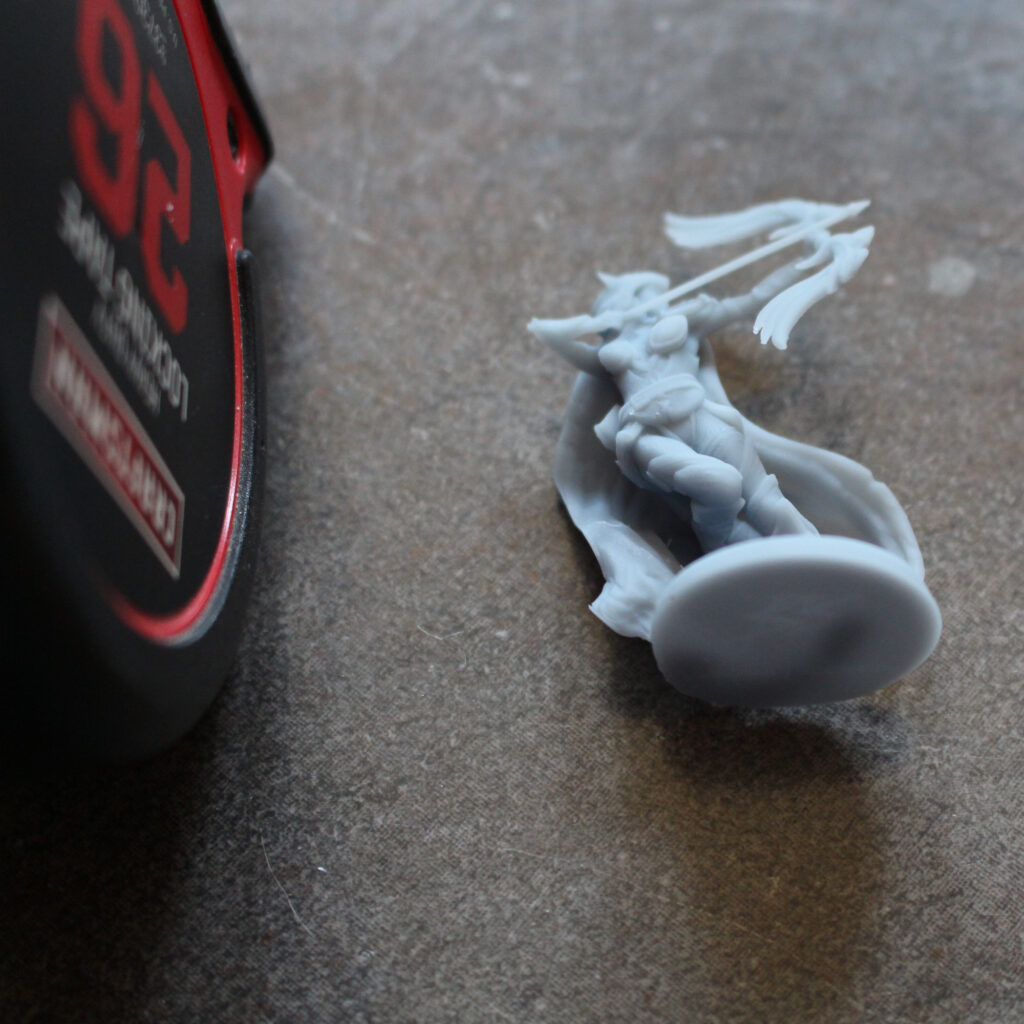
Starting Figure: Black Primer
I’m starting with a werewolf that’s been painted with black primer. If you’d like to primer your own figure, this works well with resin figures.
Step 1: Base Coat
First, give your werewolf a nice coat of black paint. This will touch up any areas where the primer might be light and give your figure a solid black background to work on.
Step 2: Color Blocking
Paint the Werewolf a dark grey color, like Necromancer Cloak, and the stone base a dark brown-grey color, like Dark Stone. Give each area a couple of coats, but don’t worry about covering every last bit of black: this is a dark, gothic figure, and a bit of black showing through is fine!


Step 3: Shadow Layer
Give the entire figure a coat of Dark Tone. Use your brush to soak up reservoirs (areas where the paint will tend to collect, but where you don’t want a large dark shadow). The eyes, collar bone, elbow crease, and around the edges of the feet are places to watch out for reservoirs on this figure. Just touch the tip of your dry paintbrush to a reservoir and the brush will suck up the extra paint. Dap the brush dry on a paper towel and repeat as needed. The goal is to get the paint to settle into the deeper recesses of the figure, exaggerating the texture and simulating shadows.

Step 4: Initial Drybrush
Once the shadow coat has thoroughly dried, it’s time to start bringing out the highlights on the sculpture. Keep your brush dry by dabbing it on paper towels. You want just enough paint on the brush to be picked up by the raised edges of the sculpture, not enough to seep down into the shadow areas. I go back to Necromancer Cloak for the werewolf and Dark Stone for the ground for this first pass with the drybrush.

Step 5: Drybrush Highlights
Make a second pass with the drybrush, using slightly lighter colors (Ash Grey for the werewolf and Oak Brown for the base) and keeping the painted areas even smaller than before. Go against the grain to help keep only the higher areas from picking up the paint, and be sure to keep the amount of paint on the brush very light by wiping most of it off on a paper towel.

Step 6: Edge Highlights
If you haven’t already, it’s time to get out your magnifying headset! You’ll also need a fine detail brush for this and the following steps. Using the same colors as before, but painting with the grain this time, highlight only the very edges of the figure. Concentrate on details that you really want to stand out, like the facial features, claws, and some of the muscle and fur detail on this werewolf. Also, be sure to get the very edges and points of the rocks.

Step 7: Details
Time to bring out those tiny details! Even though the final areas to get attention are very small, they really add life to your figure. Start by painting the inside of the mouth and the gums with Glistening Blood. For the teeth and claws, I use a 50/50 mixture of Mummy Robes and Skeleton Bone. After those areas have dried, I give them a light, controlled coat of Soft Tone, and then finally go back to the original colors to add some highlights.
All that’s left is the eyes! Hold your breath and use your tiniest brush. I used Jungle Green for the eyes on this werewolf.


Step 8: Clear Coat
You’re finished! Let the paint dry and give the figure a couple of passes with Matte Clear Coat to protect the paint, and then you’re ready to show off your new sculpture!
The same colors that I used for the werewolf work great for 3DofSan‘s Dire Wolf figure too!

Was this article helpful? Become a Patreon or buy me a coffee and I’ll write more!